Walls and baseboards are the most overlooked surfaces in a standard cleaning routine. Knowing the best way to wash walls makes a bigger visual difference than almost any other cleaning task. They cover more square footage than any other surface in your home, yet most people only clean them when the dirt becomes unmistakably visible. By that point, the buildup has had months or years to adhere to the paint and collect along the baseboard edges.
Knowing the best way to wash walls correctly makes the entire process faster, produces better results, and avoids the damage that improper technique causes. This guide covers walls and baseboards together, explains the right approach for different paint types, and identifies the 10 most common mistakes that lead to streaks, residue, and surface damage.
Why walls and baseboards need regular attention
Walls collect an invisible layer of airborne grease, dust, and humidity over time. In kitchens, this process is accelerated by cooking vapors. In living areas, it comes from normal activity, skin oils, and anything airborne in the environment. The result is a gradual yellowing or dulling of the paint that’s easy to overlook until you clean a test section and see the contrast.
Baseboards sit at floor level and catch everything: foot traffic dust, pet hair, debris kicked up during vacuuming, scuff marks, and splashes. Furthermore, because they’re close to the floor, they’re often missed by standard cleaning routines that focus on surfaces at eye level.
Cleaning both together during a deep clean is efficient and produces a noticeably cleaner, more cohesive appearance throughout the room.
Know your paint finish before you clean
Not all paint surfaces are created equal. The cleaning method that works on a semi-gloss finish can strip or dull a flat or matte paint. Before cleaning, identify the finish on your walls:
Flat or matte paint: The most delicate finish. It’s not designed to be washed repeatedly. Use the gentlest possible method and avoid scrubbing. If flat paint has visible grime, gentle dabbing with a barely damp cloth is safer than wiping.
Eggshell or satin: More durable than flat, these finishes can be cleaned with mild soap and water. They’re the most common choice for living areas and bedrooms.
Semi-gloss or gloss: The most washable finish. Used frequently in kitchens, bathrooms, and on trim. Can handle more water and gentle scrubbing without damage.
When in doubt, test your cleaning solution in an inconspicuous area first.
What you need
- Warm water
- Mild dish soap or a pH-neutral all-purpose cleaner
- Two buckets (one for cleaning solution, one for rinse water)
- Microfiber cloths or a microfiber flat mop for large wall areas
- A soft sponge
- An old toothbrush (for baseboard crevices)
- Drop cloth or towels for the floor
- A dry microfiber cloth for final buffing
Avoid using anything abrasive, including rough sponges, stiff brushes, or scouring pads, as these scratch paint finishes. Also avoid highly alkaline cleaners like undiluted dish soap in high concentration, which can strip paint over time.
The best way to wash walls step by step
Step 1: dust first
Before any moisture touches the wall, remove loose dust with a dry microfiber cloth on an extension pole, a clean dry mop head, or a soft duster. Skipping this step turns dry dust into muddy smears when the cleaning solution is applied.
Work from the ceiling downward. Pay attention to corners, where cobwebs and fine dust accumulate. Also wipe around light switch plates and outlet covers, which attract static-charged dust.
Step 2: prepare your cleaning solution
The best way to wash walls begins with the right solution. Mix a small amount of mild dish soap (two or three drops) into a gallon of warm water. The solution should be barely sudsy. Too much soap leaves residue on the wall that attracts more dust and creates a dull film over time.
Keep a second bucket of clean warm water nearby for rinsing your cloth. Using a single bucket for both washing and rinsing deposits dirty water back onto the wall.
Step 3: work in sections from top to bottom
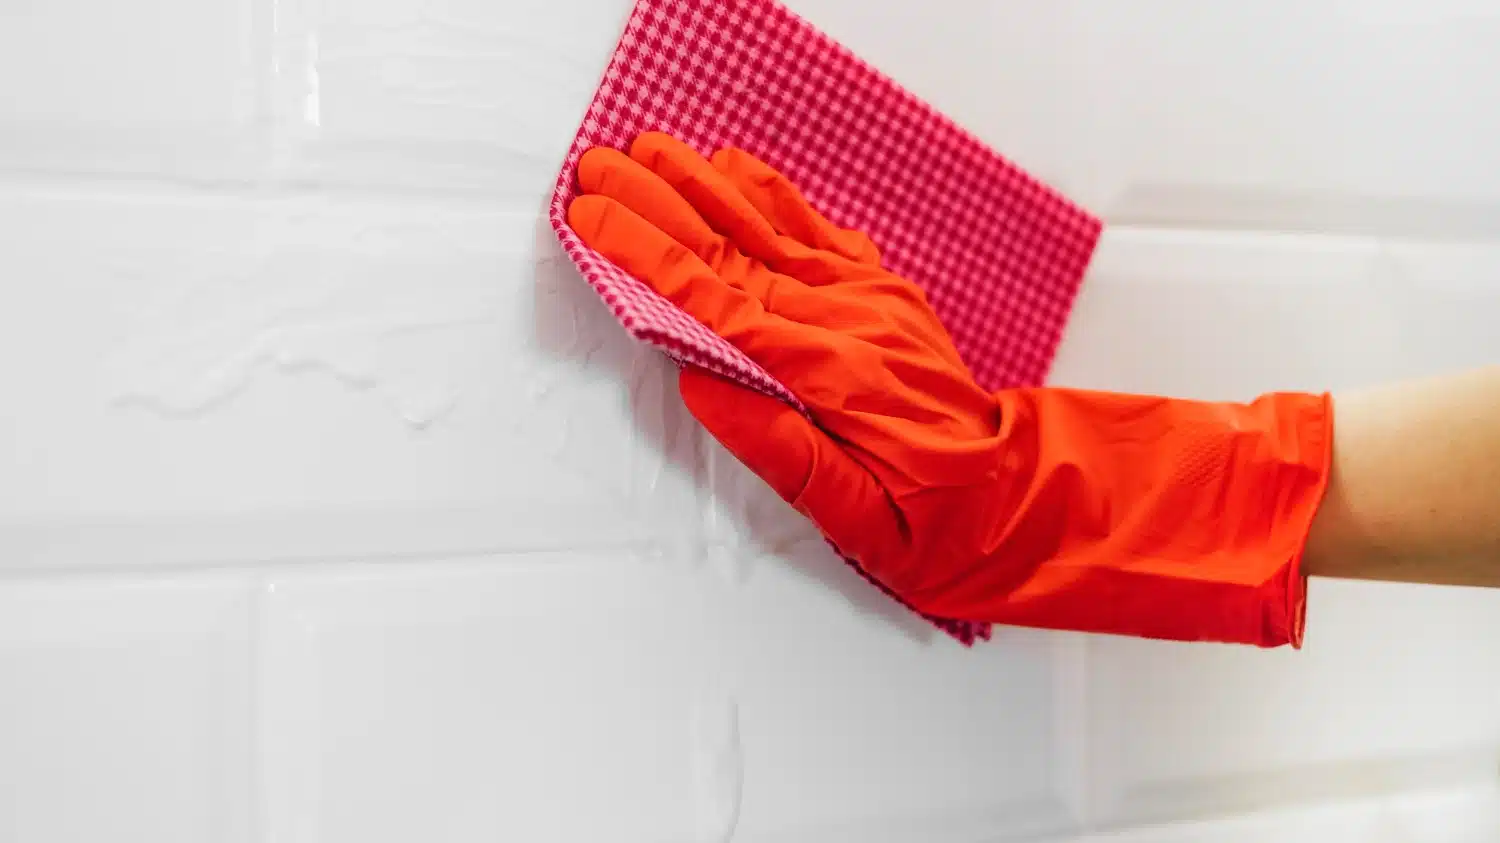
Dampen your microfiber cloth or sponge in the cleaning solution. Wring it thoroughly so it’s barely damp, not dripping. Wipe the wall in a circular or overlapping S-pattern, covering a section of approximately two to three square feet.
Working from top to bottom ensures any drips from higher sections fall onto areas you haven’t cleaned yet. If you clean from the bottom up, drips create streaks over your already-clean sections that are difficult to remove.
Step 4: rinse as you go
After cleaning each section, rinse the same area with a clean cloth dampened in plain water. This removes soap residue. If you skip the rinse step, the soap film left behind will dry to a dull haze and attract grime faster than before.
Wring the rinse cloth just as thoroughly as the cleaning cloth. Excess water on walls runs down, collects on the baseboard, and can saturate areas below.
Step 5: dry the wall
Use a dry microfiber cloth to gently buff the cleaned section before moving to the next. This removes any remaining moisture and prevents water marks from forming as the wall dries. In humid environments or on flat paint, this step is especially important.
How to clean baseboards the right way
Vacuum first
Before touching baseboards with a cloth, use a vacuum brush attachment to remove loose dust and debris from the top edge and along the length of the baseboard. This is the step that most people skip, and it’s why wet wiping often creates muddy streaks on baseboards.
Wipe with a damp microfiber cloth
Dampen a microfiber cloth with the same mild soap solution you used on the walls. Wipe the top surface of the baseboard first, which collects the most dust, then the front face and the lower edge.
For detailed molding profiles with ridges and grooves, a damp toothbrush works effectively for the narrow channels. Wipe in the direction of the molding detail, not across it.
Rinse and dry
Rinse the baseboard with a clean damp cloth and dry immediately. Baseboards sit close to the floor and often have a gap between the baseboard and the floor surface. Excess water can seep behind the baseboard and create conditions for mold growth over time.
10 wall and baseboard cleaning mistakes that leave streaks and residue
1. not dusting before washing
Applying any liquid to a dusty wall turns the dust into a dirty paste that’s harder to remove and leaves streaks when it dries.
2. using too much soap
Even a slightly over-concentrated soap solution leaves a film on the wall that dulls the finish and attracts new grime faster. Use minimal soap.
3. not rinsing
Skipping the rinse step is the most common cause of hazy, streaky walls after cleaning. Always follow the soap with a clean water rinse.
4. using one bucket for washing and rinsing
A single bucket quickly becomes dirty. Dirty water wiped back onto the wall redistributes the grime you just removed.
5. cleaning from the bottom up
Drips from higher sections streak over already-clean areas and dry as visible marks. Always work top to bottom.
6. using circular scrubbing on flat or matte paint
Circular scrubbing on delicate paint finishes causes burnishing: a permanent change in the paint’s reflectivity that appears as a shiny patch on a flat surface. On flat or matte paint, use light dabbing or straight wiping only.
7. using harsh chemicals
Bleach, ammonia, or highly alkaline multi-purpose cleaners can lift or discolor paint. Stick to mild dish soap or a product labeled safe for painted surfaces.
8. leaving wet residue on baseboards
Moisture trapped behind or under baseboards encourages mold growth. Always dry baseboards thoroughly after cleaning.
9. skipping corner details
Corners collect dust and grime that standard wall wiping misses. Fold the cloth to get into the corner properly, or use a smaller cloth to address the angle.
10. cleaning walls only when visibly dirty
By the time walls look dirty, the buildup is significant and harder to remove cleanly. Incorporating a quick wall wipe every few months prevents heavy accumulation and makes the process much faster.
How often should you clean walls and baseboards?
For most households, cleaning walls with a damp cloth every three to four months maintains their appearance. High-traffic areas like hallways, near light switches, and around door frames benefit from monthly attention.
Baseboards should be vacuumed weekly during regular floor cleaning and wiped with a damp cloth every four to six weeks. In homes with pets, more frequent baseboard cleaning addresses the pet hair and dander that accumulates along floor edges.
When professional deep cleaning is the right choice
Whole-wall cleaning across multiple rooms is a time-consuming task, especially in larger homes. A professional deep clean includes walls and baseboards as part of a comprehensive interior detail that goes beyond standard weekly maintenance.
E&R Clean Service provides deep cleaning services for homeowners across McKinney, Frisco, Plano, Allen, and the Dallas Metroplex. Our team addresses the surfaces that most cleaning routines miss, delivering a baseline of cleanliness that’s much easier to maintain afterward.
Walls that look freshly painted, without repainting
The best way to wash walls remains the same regardless of paint type: dust first, use minimal soap, work top to bottom, always rinse, and dry before moving on. The 10 mistakes in this guide are the specific reasons most wall cleaning attempts produce unsatisfying results. Avoiding them makes the difference between walls that look clean and walls that look as good as freshly painted.
Baseboards require the same approach at floor level: vacuum before washing, dry thoroughly, and address the detail molding with a toothbrush. Together, clean walls and baseboards transform the appearance of a room more dramatically than almost any other cleaning task.
Keep Reading
Rather hand the work to a team that does this every day? See our deep cleaning service or call (214) 430-4447 for a free quote.
Want Your Home to Look Like This Without the Work?
Tell us about your place and we will send you a price. No walkthrough required, no obligation.
- Free quote with no obligation
- Non toxic and pet friendly products
- Bonded and insured, serving DFW since 2002
- 24 hour guarantee on our service
Prefer to talk? (214) 430-4447
By completing this form I acknowledge that I will receive informational text messages from E&R Cleaning Services. I can opt out at any time by replying STOP. Standard message rates may apply.