
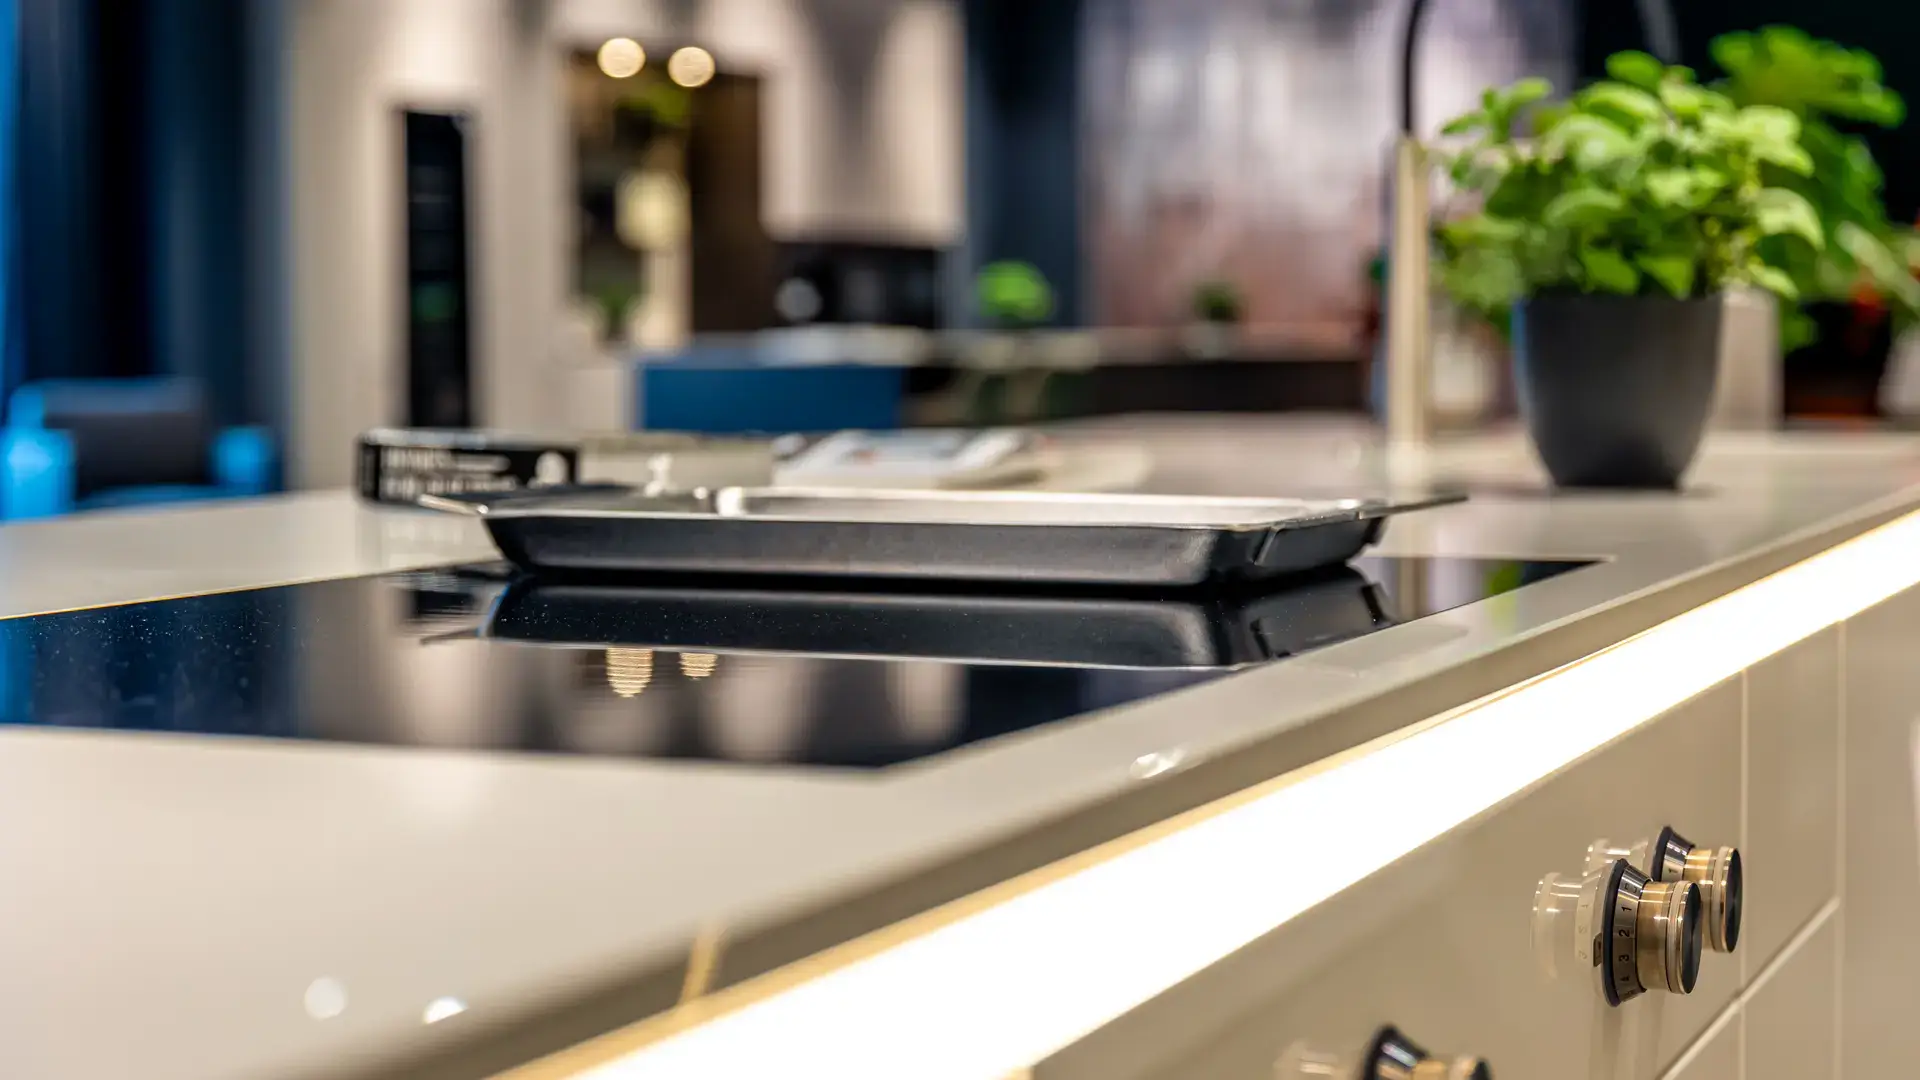
A kitchen can look clean and still harbor bacteria on surfaces that rarely get real attention. The countertop gets wiped, the dishes get done, and the stovetop gets a scrub after cooking. What stays missed is almost always the same handful of spots.
Disinfecting kitchens properly means going beyond the visible mess. It means knowing which surfaces transfer bacteria most readily and treating them with an actual disinfectant, not just a damp cloth.
The surfaces you are probably missing
The spots most often missed when disinfecting kitchens are high-touch surfaces that do not look dirty. Faucet handles, refrigerator handles, cabinet pulls near the stove, and the sink drain area are at the top of that list. A quick wipe moves residue around. A registered disinfectant applied with proper contact time actually kills the bacteria there.
Disinfecting kitchens properly: cleaning is not enough on its own
Wiping a surface removes visible grease, crumbs, and some bacteria through physical action. Disinfecting kills bacteria that remain after cleaning, but only if a registered disinfectant sits on the surface long enough to work.
Most household disinfectants need between 30 seconds and four minutes of contact time before they are wiped away. A surface sprayed and immediately wiped has been cleaned. It has not been disinfected.
This gap matters most in kitchens, where surfaces frequently contact raw food, unwashed hands, and water.
The 9 kitchen spots that need real disinfecting
1. The kitchen faucet handle
Faucet handles get touched constantly, often right after handling raw meat or before washing hands. They are one of the most bacteria-dense surfaces in any home kitchen. Disinfect them at least once a day, and always after handling raw poultry or eggs.
2. The refrigerator handle
Every trip to the fridge while cooking means a handle touched by whatever was on the hands at that moment. Refrigerator handles are rarely wiped during a standard kitchen clean. They need a disinfectant wipe or spray at least twice a week.
3. Cabinet pulls near the stove
Pulls on the cabinet directly above or beside the stove accumulate grease and get touched constantly during cooking. Grease creates a film that traps bacteria and makes standard wiping less effective. These need a degreaser first, then a disinfectant.
4. The sink drain and surrounding area
The sink drain area stays consistently wet and warm, which makes it one of the highest-bacteria zones in the kitchen. Cleaning around the drain, not just the basin, and running a disinfectant solution down the drain weekly prevents odor and bacteria buildup.
5. The cutting board
Cutting boards, especially wooden ones, retain bacteria in micro-cuts from knife use. Washing with soap is not enough for boards that contact raw meat. These need to be disinfected with a food-safe solution and allowed to dry fully between uses.
6. The kitchen sponge or dishcloth
Sponges and dishcloths are used to clean other surfaces but often harbor more bacteria than any other item in the kitchen. A sponge that smells is already a problem. Replace sponges weekly and microwave a damp sponge for 60 seconds daily to reduce bacteria between replacements.
7. Light switches and outlet covers
Hands go to the light switch constantly while cooking. These are rarely part of a standard kitchen clean, yet they receive the same high-touch exposure as faucet handles. A quick disinfectant wipe twice a week covers the gap.
8. The trash can exterior
The lid and exterior of a kitchen trash can are touched multiple times a day, often while hands are not clean. Wiping only the inside is a common mistake. Disinfect the lid and handle at least once a week.
9. The area behind and beneath small appliances
Toasters, coffee makers, and stand mixers collect crumbs, moisture, and bacteria underneath. Moving appliances during kitchen cleaning and disinfecting, rather than wiping around them, prevents these zones from becoming persistent bacteria sources.
How to disinfect a kitchen properly
Knowing which spots to target is only part of the process. The method matters too.
- Clean the surface first, removing any visible food, grease, or residue.
- Apply a registered disinfectant. Check the label for pathogens covered and contact time required.
- Leave the product wet on the surface for the full contact time. Do not wipe immediately.
- Wipe or allow to air dry according to the product instructions.
- Wash hands after cleaning each major surface, especially near raw food prep areas.
Using non-toxic cleaning products that are also EPA-registered disinfectants gives households the ability to disinfect safely around children and pets without choosing between effective and family-safe.
How often to run a full kitchen sanitizing checklist
Not every surface needs daily attention. A simple frequency breakdown helps.
Daily: Faucet handles, sink basin, countertops near food prep, stovetop, cutting boards used for meat.
Twice a week: Refrigerator handle, cabinet pulls, light switches, trash can exterior.
Weekly: Sink drain and drain area, area beneath small appliances, sponge replacement or disinfection.
Monthly: Deep clean inside the refrigerator, beneath large appliances, and cabinet interiors near the stove.
Following a kitchen sanitizing checklist like this keeps disinfecting kitchens from becoming an occasional catch-up task and turns it into a manageable rhythm instead.
Common mistakes in kitchen cleaning and disinfecting
- Using the same sponge or cloth for both dishes and surface wiping, which spreads bacteria across surfaces
- Applying disinfectant to a visibly dirty surface and expecting it to work, when cleaning first is always required
- Treating a lemon-and-vinegar spray as a disinfectant, when these are cleaning agents, not registered disinfectants
- Skipping the contact time listed on disinfectant labels, which is the most common reason disinfection fails
A professional cleaner doing kitchen work as part of a recurring service typically follows a set sequence for each surface. That sequence accounts for cross-contamination risks that most quick home cleans overlook.
According to the USDA Food Safety and Inspection Service, proper kitchen sanitation is one of the most effective ways to prevent foodborne illness at home. That includes disinfecting food contact surfaces after raw meat handling.
Real scenario: bacteria hiding where no one looks
A family that regularly cleaned their kitchen still experienced recurring stomach bugs over one winter. After checking habits with a professional cleaning team, the source was traced to three overlooked surfaces: the faucet handle, the refrigerator door, and a sponge replaced monthly instead of weekly. Switching to a kitchen sanitizing checklist with proper disinfectant contact time and weekly sponge replacement eliminated the pattern entirely.
Choosing the right products for disinfecting kitchens
Not all disinfectants are appropriate for kitchen surfaces. Choosing well avoids both gaps in coverage and unnecessary exposure to harsh chemicals.
- Look for EPA-registered disinfectants that list the pathogens you are most concerned about, such as salmonella or norovirus, since product labels specify which organisms are covered
- For food contact surfaces like cutting boards and countertops, choose a product approved for use around food, and rinse the surface after the contact time if the label requires it
- Non-toxic cleaning products that also carry an EPA Safer Choice designation give households effective disinfection with lower exposure risk for children and pets
- Avoid mixing bleach-based and ammonia-based products, which creates toxic fumes even in a well-ventilated kitchen
Having two products on hand, one for general surfaces and one specifically rated for food contact areas, is the most practical setup for thorough disinfecting kitchens on a regular basis.
What professional kitchen cleaning looks like
A professional cleaning team working through a kitchen follows a surface-by-surface order designed to prevent cross-contamination. They start with high surfaces and work down. They clean before they disinfect. They move appliances rather than clean around them.
Most importantly, they let the disinfectant sit. That four-minute contact time a standard kitchen cleaner requires is rarely observed in a quick home wipe-down. A professional service builds that wait into the routine so it actually happens.
The results are visible within a few weeks. Odors from the drain and sink area reduce. Stickiness around the coffee maker and stove disappears. Surfaces that were breeding bacteria without anyone knowing it become genuinely clean.
Disinfecting kitchens on a schedule that fits your household
Disinfecting kitchens does not have to mean a full deep clean every day. The goal is matching the right level of attention to the actual risk of each surface.
High-contact surfaces, the faucet handle, the refrigerator handle, and cutting boards used for meat, need daily disinfection. Lower-contact surfaces, the microwave interior and the area under small appliances, need weekly or monthly attention.
Building that separation into a written schedule means nothing important gets missed and no unnecessary time is spent on surfaces that were already clean. Most households can cover the daily tasks in under five minutes once the habit is in place.
FAQ
Is vinegar a good disinfectant for kitchens? Vinegar is an effective cleaner and deodorizer, but it is not a registered disinfectant. It does not kill all common kitchen pathogens at the concentrations used in household sprays.
How do I disinfect a kitchen safely if I have young children? Look for EPA-registered disinfectants that also carry a Safer Choice label, which means they have been reviewed for lower toxicity. Allow surfaces to fully dry before children make contact.
Can I use the same cloth for disinfecting all kitchen surfaces? No. Using the same cloth across the sink drain, cutting board, and countertop transfers bacteria between surfaces. Use a separate cloth or disposable wipe for each area, or disinfect the cloth itself between uses.
How often should I replace a kitchen sponge? Weekly replacement is the standard recommendation. Between replacements, microwaving a damp sponge for 60 seconds daily significantly reduces bacteria load.
Does the order I clean kitchen surfaces matter? Yes. Always clean from least contaminated to most contaminated. Wipe counters before the sink, and the sink before the drain area. That order prevents spreading bacteria from the dirtiest surfaces onto ones that were just cleaned.
How can I tell if my kitchen disinfectant is actually working? The clearest sign is following the contact time on the label. If the disinfectant is allowed to sit wet on the surface for the required time, it is working. A surface sprayed and immediately wiped has only been cleaned, not disinfected.
A kitchen that is actually clean
A clean-looking kitchen and a properly disinfected kitchen are two different things. Disinfecting kitchens the right way means treating the surfaces that get touched most. Use a product that has been tested to kill bacteria, and give it enough contact time to work.
The routine does not take much longer than a standard wipe-down once the right surfaces and sequence are in place.
Keep Reading
Rather hand the work to a team that does this every day? See our deep cleaning service or call (214) 430-4447 for a free quote.
Want Your Home to Look Like This Without the Work?
Tell us about your place and we will send you a price. No walkthrough required, no obligation.
- Free quote with no obligation
- Non toxic and pet friendly products
- Bonded and insured, serving DFW since 2002
- 24 hour guarantee on our service
Prefer to talk? (214) 430-4447
By completing this form I acknowledge that I will receive informational text messages from E&R Cleaning Services. I can opt out at any time by replying STOP. Standard message rates may apply.