A refrigerator that smells despite looking clean is one of the most common and most misunderstood kitchen problems. The surface is wiped, the shelves are clear, and yet there is a persistent odor every time the door opens. In almost every case, the source is not the food inside but the parts of the refrigerator that rarely or never get cleaned.
Knowing how to clean a refrigerator means going beyond the visible shelves to address 11 specific areas where food residue, moisture, bacteria, and mold accumulate undetected. This guide covers each area, what makes it a problem, and the exact steps to address it.
Why refrigerators smell even after a surface clean
A standard surface wipe removes what you can see. However, bacteria and mold thrive in conditions of moisture, low light, and limited airflow, which describes the interior of a refrigerator perfectly. Several structural features of most refrigerators create persistent odor hotspots that surface cleaning never reaches.
The drip pan underneath collects condensation continuously and is almost never cleaned. The rubber door gasket has deep folds where moisture and mold establish themselves. Vegetable drawer tracks accumulate soil and decaying organic matter in grooves that are invisible until the drawer is fully removed.
The result is a refrigerator that smells from within even after the shelves look spotless.
Preparation: before you start cleaning
Remove all food from the refrigerator and place perishables in a cooler with ice. Unplug the unit or set it to the lowest cooling setting. Give it ten minutes to begin warming slightly, which makes cleaning surfaces easier.
Gather these supplies:
- Warm water and mild dish soap
- White vinegar in a spray bottle
- Baking soda (one box for cleaning solution, one to leave inside afterward)
- Microfiber cloths and an old toothbrush
- A soft sponge
- A vacuum or handheld brush for the coils
Avoid using bleach inside the refrigerator. Bleach leaves behind chemical residue and odors that can transfer to food, even after rinsing.
11 refrigerator spots that cause odors and how to deep clean them
Spot 1: Interior shelves and shelf brackets
Remove each shelf completely rather than wiping around them in place. Wash them with warm soapy water in the sink, scrubbing both the shelf surface and the bracket ends that slide into the wall tracks.
Those bracket slots are where liquid pools and sits without evaporating. A toothbrush reaches into the track grooves effectively. Dry each shelf thoroughly before replacing it, as returning damp shelves reintroduces moisture.
Spot 2: Crisper and vegetable drawers
Vegetable drawers collect soil from produce, moisture, and the residue of decaying leaves and stems at the bottom. Remove them completely and wash with soap and warm water, including the corners and the drawer lip.
Let them air dry fully. A damp drawer returned to the refrigerator immediately creates the exact humid conditions mold requires.
Spot 3: Drawer tracks and grooves in the walls
After removing the drawers, examine the grooves and tracks they sit in. These collect crumbs, liquid, and organic debris that the drawers rest on top of every day. A toothbrush dipped in a vinegar solution reaches into the grooves effectively.
This is one of the most commonly skipped steps when people clean the refrigerator interior and one of the most reliable odor sources.
Spot 4: The rubber door gasket
The rubber seal around the door is designed to maintain a tight closure, but its folded structure creates dozens of small crevices where moisture collects. Mold grows rapidly in these folds, particularly near the bottom of the door where condensation is heaviest.
Use a toothbrush dipped in a solution of equal parts white vinegar and water to scrub each fold of the gasket. Work around the entire perimeter. Dry the gasket thoroughly after cleaning.
While cleaning, check the gasket for tears, brittleness, or sections that no longer create a firm seal. A failing gasket lets warm air in and makes the refrigerator work harder, increasing energy costs and accelerating the growth of moisture-related issues inside.
Spot 5: Interior walls
Wipe all interior walls with a solution of one tablespoon of baking soda dissolved in one liter of warm water. Baking soda is alkaline and neutralizes acid-based food odors, rather than simply masking them with fragrance.
Pay particular attention to the back wall, which develops condensation buildup over time, and the areas around the door hinge on the side walls, where liquid residue collects.
Spot 6: The freezer compartment
Ice crystals hide spills and odors effectively in the freezer. Defrost the freezer fully, then wipe all surfaces with the baking soda solution. Remove and wash any ice cube trays, which develop biofilm on their surfaces over months of use.
Wipe the door seal in the freezer compartment the same way you treated the main refrigerator gasket.
Spot 7: Door shelves and condiment bins
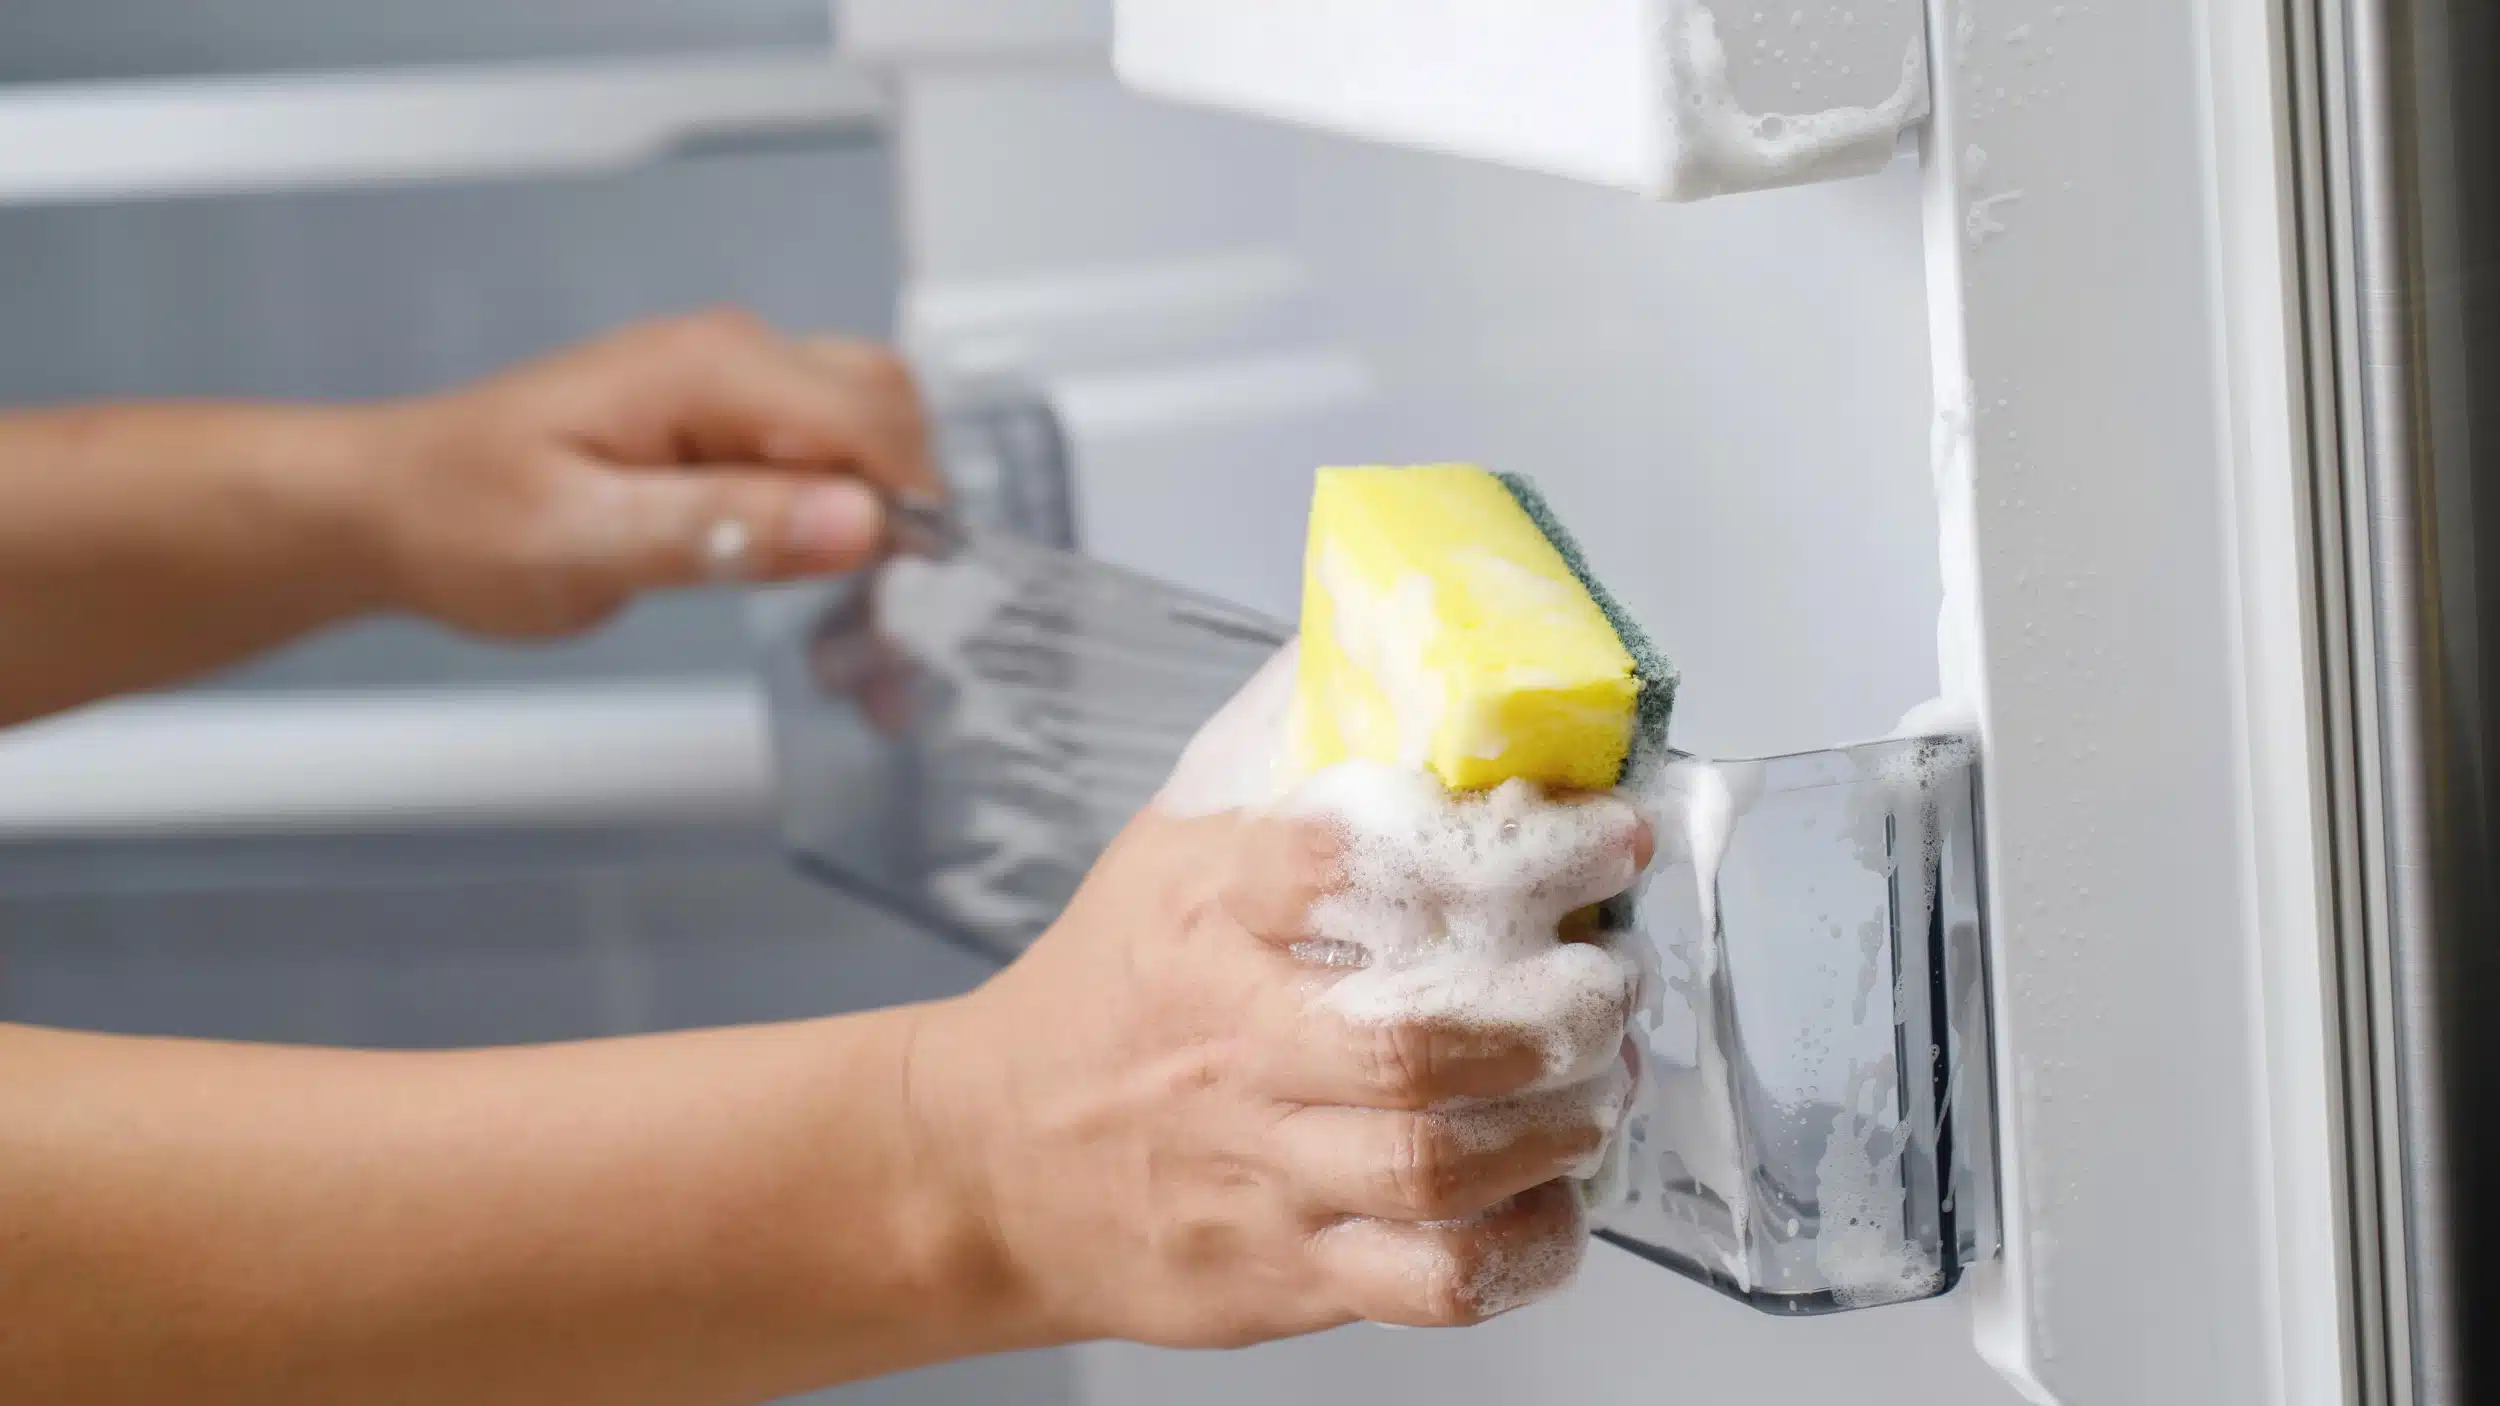
Condiment bottles drip. The undersides of bottles and jar lids deposit sticky residue on the door shelf surfaces every time they are replaced. Remove each door bin individually and wash with soap and water, scrubbing the corners.
Check the undersides of bottle caps before returning condiments to the shelves. A bottle with residue on its base will immediately recontaminate a clean shelf.
Spot 8: The drip pan underneath
This is the single most commonly neglected odor source in most refrigerators. The drip pan collects condensation from the defrost cycle continuously. Over months and years it accumulates organic residue, bacteria, and mold in a location that receives no airflow and no regular attention.
Pull the refrigerator away from the wall carefully. The drip pan is typically located at the bottom front or bottom back of the unit, behind a removable panel. Slide it out carefully, wash it with hot soapy water, rinse well, and dry before replacing.
The experience of cleaning a drip pan that has not been touched in years is often the moment people realize where a persistent refrigerator odor has been coming from.
Spot 9: Condenser coils
Dust on the condenser coils forces the refrigerator motor to work harder to maintain temperature. The coils are typically at the back or underneath the unit. Use a vacuum brush attachment or a dedicated coil cleaning brush to remove accumulated dust.
Clean coils twice a year. Beyond reducing odor risk, this extends the life of the compressor and reduces energy consumption by 15 to 20 percent in heavily dusty conditions, according to appliance efficiency data.
Spot 10: The water dispenser and ice maker lines
If the refrigerator has a water dispenser, bacteria can establish themselves in the internal tubing, particularly if the dispenser is used infrequently. Flush the system according to the manufacturer’s instructions and replace the filter at the recommended interval, typically every six months.
Check the ice maker tray and the ice collection bin as well. These are wet environments that develop biofilm without regular attention.
Spot 11: The floor beneath and behind the refrigerator
Crumbs, debris, and moisture collect on the floor beneath the refrigerator. The combination of heat from the motor above and organic debris below creates conditions for mold and pest activity. Pull the unit out fully and sweep or vacuum the floor, then wipe with a disinfectant solution.
While the refrigerator is pulled out, also wipe the back panel and sides of the unit, which collect dust and grease from the kitchen environment.
How often should you clean each part?
| Area | Cleaning frequency |
|---|---|
| Interior shelves and walls | Monthly |
| Drawers and tracks | Monthly |
| Door gasket | Every 2 to 3 months |
| Drip pan | Every 3 to 6 months |
| Condenser coils | Twice per year |
| Floor behind unit | Twice per year |
| Water filter replacement | Every 6 months |
Keeping the refrigerator fresh between deep cleans
An open box of baking soda placed on a shelf absorbs ongoing odors between cleaning sessions. Replace it every 30 days. Activated charcoal pouches work similarly in smaller compartments and last longer than baking soda.
Store food in sealed containers and label leftovers with dates. The most common source of new odors is forgotten food that has been open and uncovered for too long.
Frequently asked questions
How long does a full refrigerator deep clean take? Plan for 60 to 90 minutes for the first thorough clean. With monthly maintenance, subsequent cleans take 30 to 45 minutes.
Can I use baking soda and vinegar together to clean inside the refrigerator? Yes, though it is more effective to use them separately. Use baking soda solution for walls and shelves to neutralize odors. Use vinegar solution for the gasket to address mold. Mixing them together creates a fizzing reaction that neutralizes both.
My refrigerator still smells after cleaning everything. What else could it be? Check for a forgotten item at the back of a high shelf or behind a drawer. Also check the drainage hole at the back of the refrigerator interior, which can become clogged with debris and allow water to pool and stagnate.
Is it safe to clean the inside of a refrigerator with bleach? No. Bleach is effective but leaves behind chemical residue that can transfer to food. Baking soda solution and white vinegar are safer and equally effective for the interior of food storage areas.
The refrigerator as part of kitchen hygiene
A thoroughly cleaned refrigerator is one component of overall kitchen hygiene. Grease buildup on range hoods, bacteria in sink drains, and residue inside other appliances all contribute to the overall state of the space.
When the kitchen needs a comprehensive reset rather than individual appliance attention, a professional deep cleaning service covers every appliance, surface, and structural detail in a single visit.
For maintaining that standard consistently, a scheduled regular cleaning service keeps the kitchen at a high level of cleanliness between deeper interventions.
A clean refrigerator protects more than food quality
Understanding how to clean a refrigerator thoroughly, including every spot listed above, takes one to two hours the first time. After that, monthly maintenance keeps each session under an hour.
The result is not just a better-smelling kitchen. It is a storage environment where bacterial growth is actively controlled, food lasts longer, and the appliance itself operates more efficiently and for more years. The eleven spots covered in this guide are the difference between a refrigerator that looks clean and one that actually functions as a safe, hygienic food storage system.
Keep Reading
Rather hand the work to a team that does this every day? See our deep cleaning service or call (214) 430-4447 for a free quote.
Want Your Home to Look Like This Without the Work?
Tell us about your place and we will send you a price. No walkthrough required, no obligation.
- Free quote with no obligation
- Non toxic and pet friendly products
- Bonded and insured, serving DFW since 2002
- 24 hour guarantee on our service
Prefer to talk? (214) 430-4447
By completing this form I acknowledge that I will receive informational text messages from E&R Cleaning Services. I can opt out at any time by replying STOP. Standard message rates may apply.