Renovations feel exciting. Still, the cleanup can feel never-ending. Fine dust lands on every surface. It sneaks into vents. It even settles inside drawers you did not open.
That is why post construction cleaning matters. It is not just a basic wipe-down. It is a step-by-step reset that protects your air, your finishes, and your time. When done right, your home looks finished and feels safe again.
Why fine dust is the biggest post-renovation problem
Construction dust is not like normal dust. It is finer. It spreads faster. And it sticks to paint, glass, and flooring. So if you clean in the wrong order, you may push the dust around instead of removing it.
Also, dust can keep floating for days. That means it can re-settle even after you clean once. Because of that, post construction cleaning should be planned, not rushed.
Common sources of fine dust
- Drywall sanding
- Sawing wood or trim
- Tile cutting and grout haze
- Concrete work
- Insulation and ceiling work
If your renovation included any of these, you likely need a true post construction cleaning services visit.
What post construction cleaning includes
A proper post-renovation clean is a mix of dust removal and detail cleaning. It starts dry, then finishes wet. It also includes careful checks in hidden spots.
Most post construction cleaning checklists cover:
- Dusting high surfaces and vents
- Wiping walls, trim, and doors
- Cleaning windows, frames, and tracks
- Removing dust from cabinets and drawers
- Vacuuming floors and edges
- Mopping with the correct method for the surface
Some homes need a second pass. That is normal. Fine dust can settle again within 24 to 48 hours.
Before you start: 7 steps that make construction cleaning easier
Do these first. They save time. They also reduce the risk of scratching surfaces with leftover grit.
- Let dust settle for 2 to 4 hours after the last work ends.
- Open windows if weather allows. Then run fans for airflow.
- Turn off HVAC during heavy dust work. It prevents spread.
- Replace air filters after cleaning, not before.
- Remove debris safely (nails, screws, scraps) using gloves.
- Protect new floors with a clean runner if workers are still inside.
- Gather tools so you do not move dust between rooms.
If the space is large, consider hiring construction cleaning services. A trained team can finish faster and reduce rework.
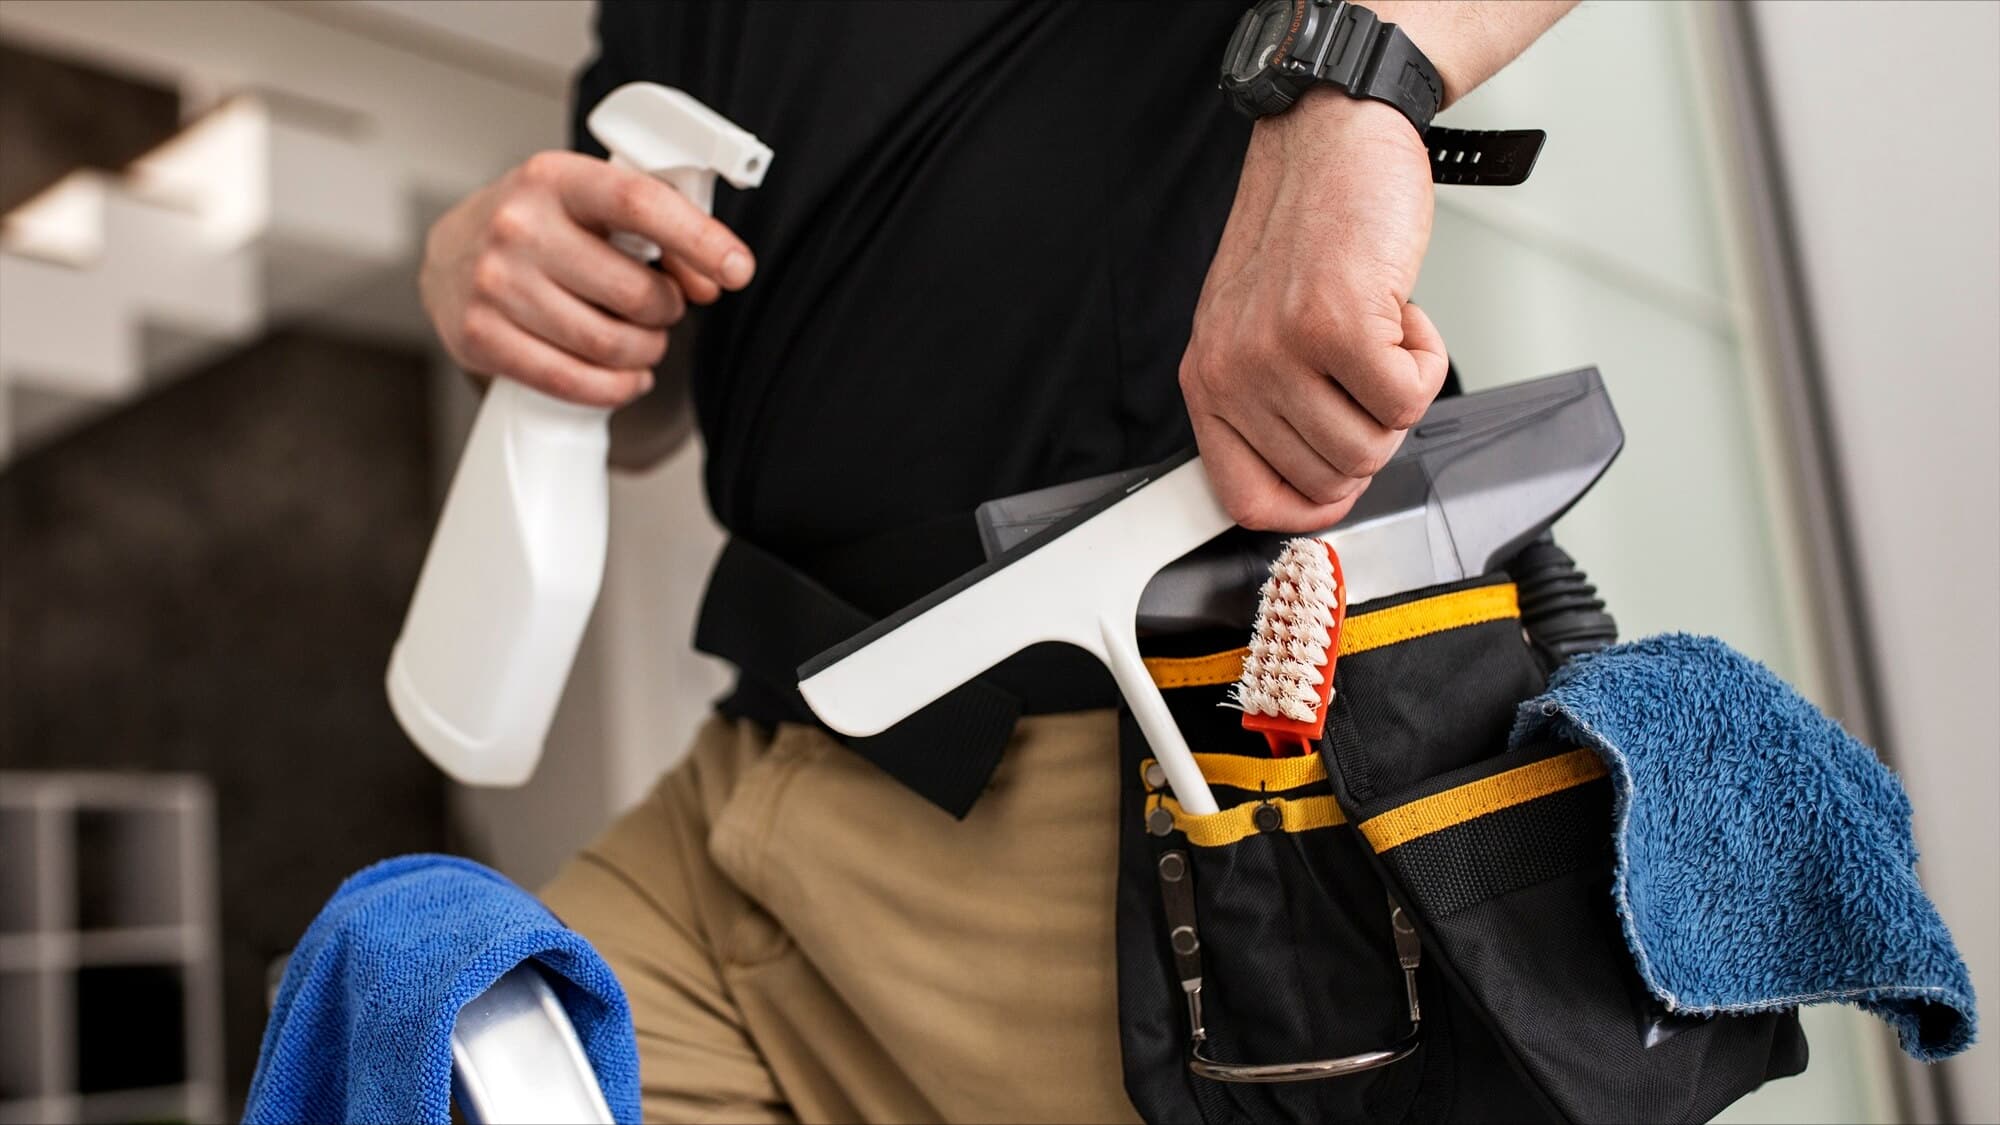
Tools for safe post construction cleaning
You do not need a huge supply list. You need the right tools. Fine dust demands gentle friction and strong capture.
Must-have tools
- Vacuum with HEPA filter (best choice)
- Microfiber cloths (10 or more)
- Dust mop or microfiber flat mop
- Soft brush attachment for vacuum
- Mild all-purpose cleaner
- Glass cleaner for windows and mirrors
- Disposable masks and gloves
Avoid feather dusters. They lift dust into the air. Also avoid rough scrub pads on new finishes.
The best order to remove fine dust after renovations
Order matters. If you start on the floors, dust from the ceiling will fall onto your clean work. So go top to bottom, then left to right.
Best cleaning order
- Ceiling and high ledges
- Vents, fans, and light fixtures
- Walls and trim
- Cabinets and built-ins
- Windows and glass
- Floors (vacuum, then mop)
This is the core of post construction cleaning. It creates a clean finish without repeating steps.
Post construction cleaning step-by-step
Use this plan for a full home reset. If you only renovated 1 area, use the same order in that zone.
Step 1: Start with ceilings, fans, and upper shelves
Fine dust loves high surfaces. It sits quietly. Then it drops later.
Do this:
- Use a vacuum brush attachment for ceiling corners
- Wipe fan blades with a damp microfiber cloth
- Dust the tops of cabinets and shelves
Work slowly. Also, fold your cloth often. It helps trap dust instead of spreading it.
Step 2: Clean vents and protect indoor air
Dust in vents can travel for weeks. So this step is important, especially for families with allergies.
- Vacuum vent covers carefully
- Wipe covers with a damp cloth
- Check returns near floors for heavy buildup
If the renovation was major, ask a construction cleaning company about deeper air vent cleaning options. In some cases, a separate HVAC service may be needed.
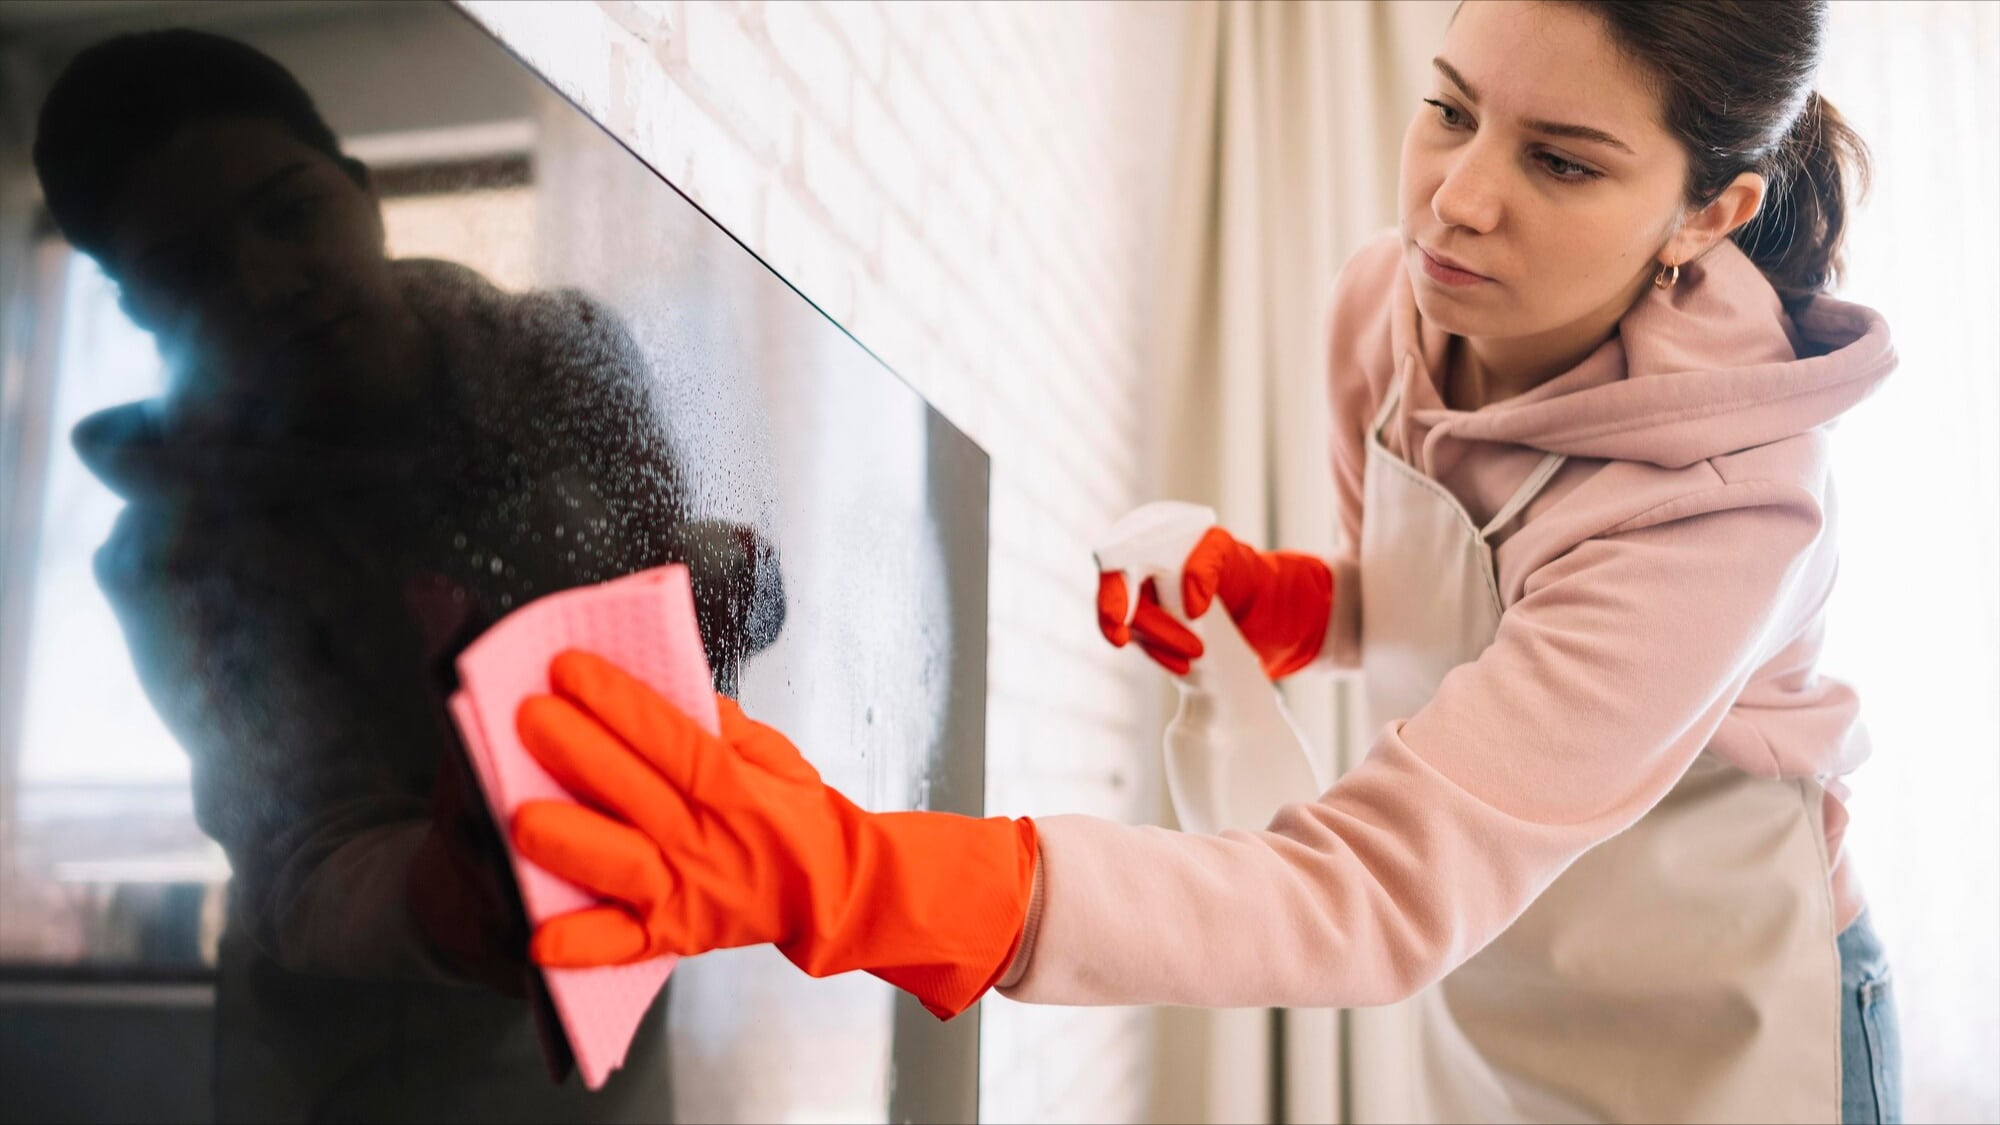
Step 3: Wipe walls and trim the right way
Walls can look clean. Yet you may feel a fine grit when you touch them. Paint dust can also dull new finishes.
Use this method:
- Dry dust first with a microfiber cloth
- Then wipe lightly with a damp cloth
- Use gentle pressure on fresh paint
For trim and baseboards, vacuum first. Then wipe. This prevents scratches.
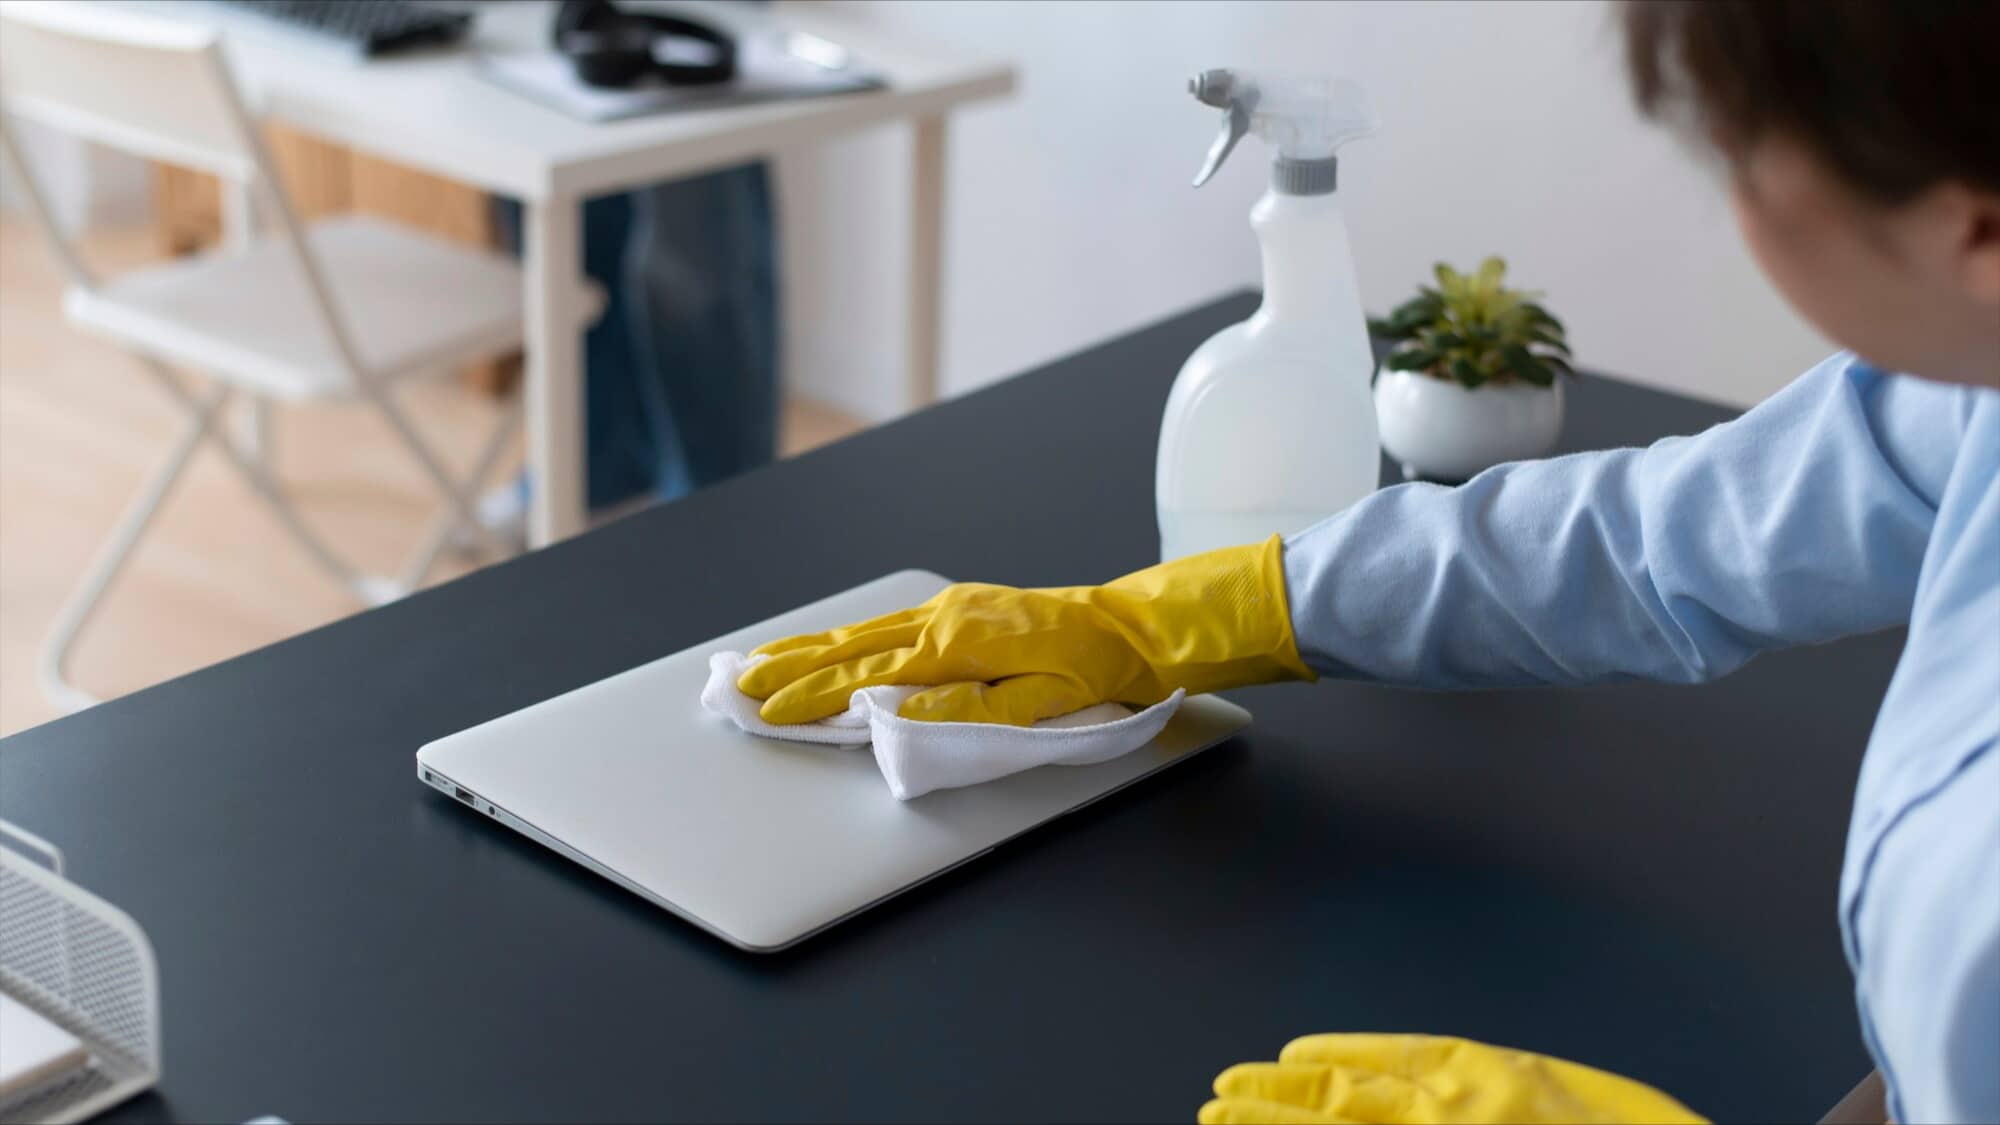
Step 4: Detail doors, handles, and switches
These spots get touched often. They also show dust fast.
Focus on:
- Door frames and top edges
- Handles and knobs
- Light switch plates
This detail work makes post construction cleaning look professional.
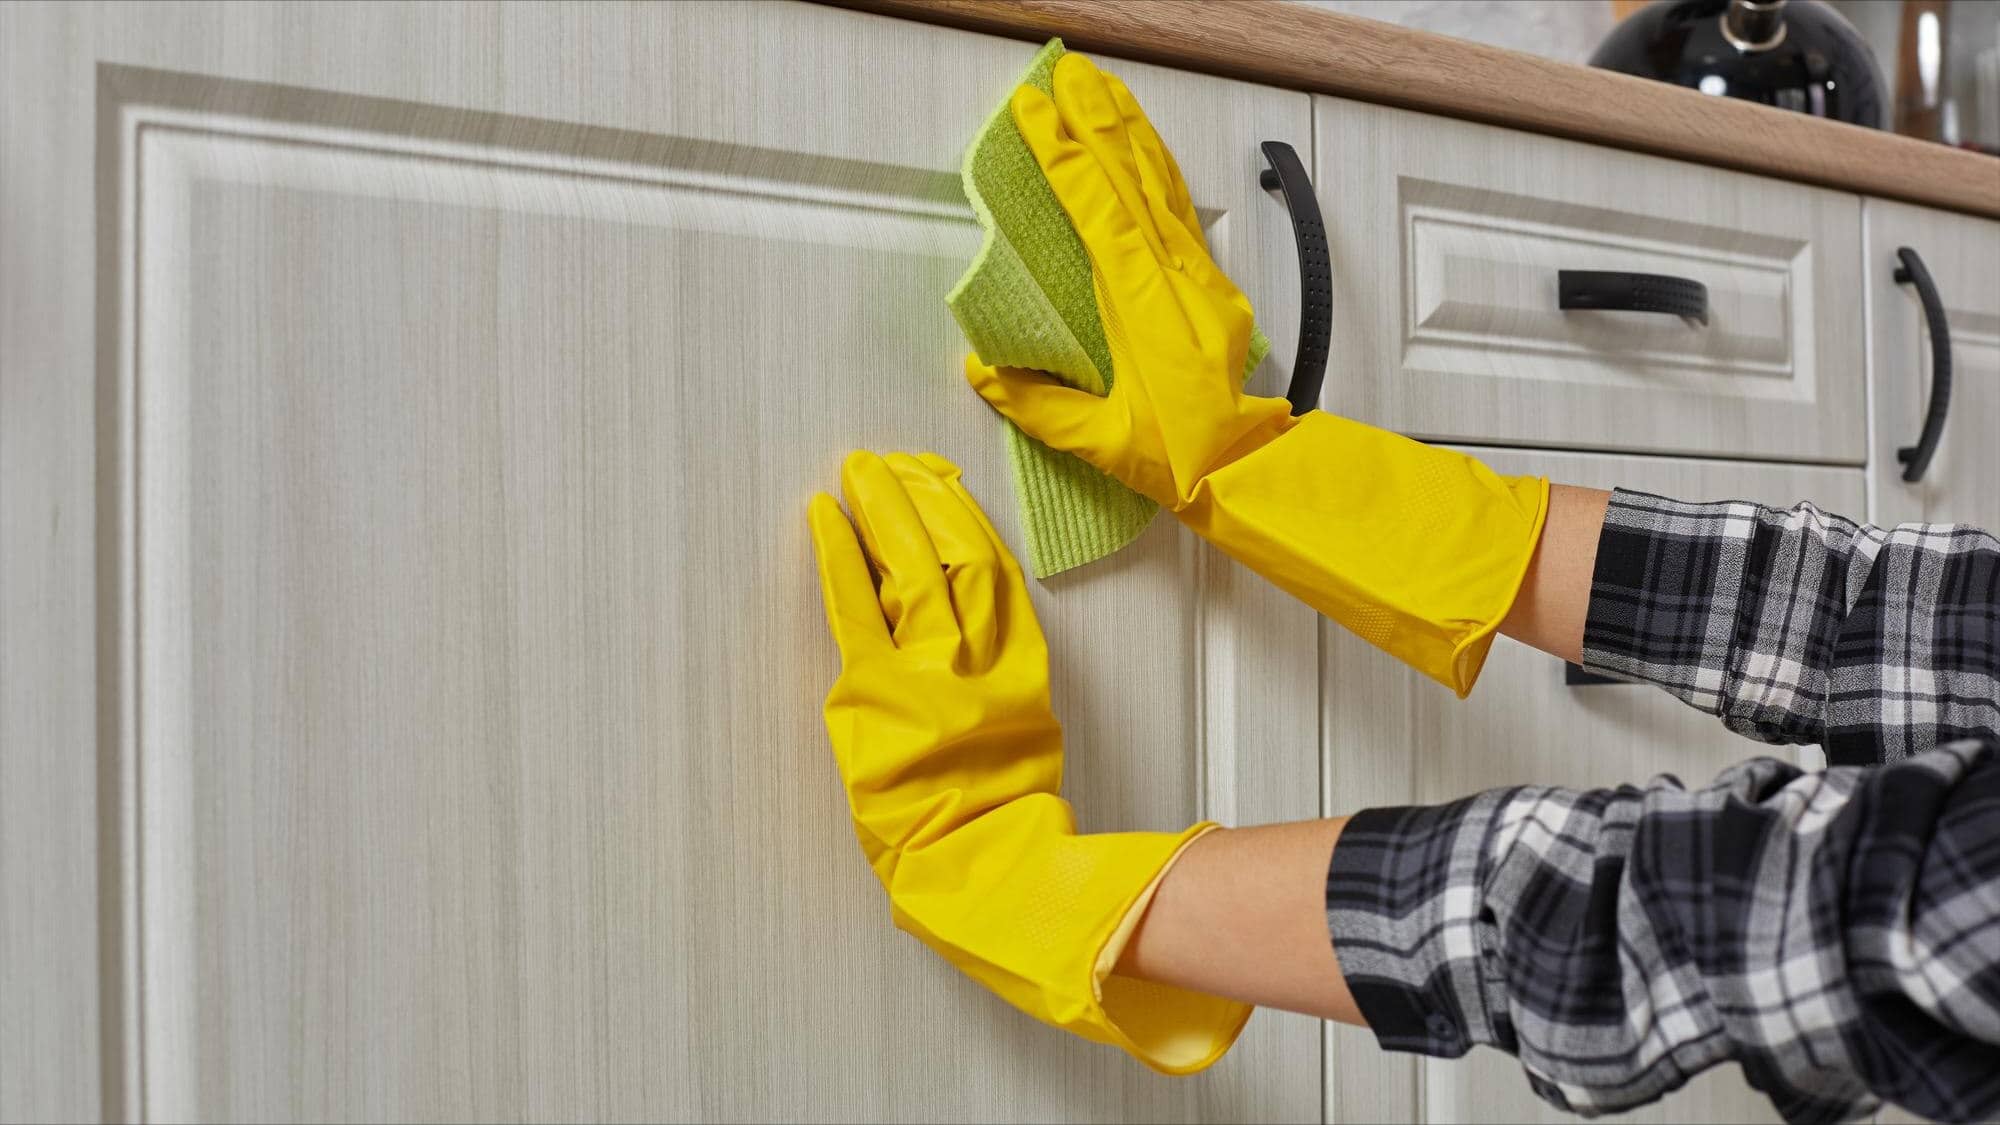
Step 5: Remove dust inside cabinets and drawers
Even closed cabinets can collect dust during construction. It slips through gaps and settles on shelves.
Do this:
- Vacuum shelves with a soft brush attachment
- Wipe with a damp microfiber cloth
- Let surfaces dry before lining or stocking
If you want a true move-in feel, include this in post construction cleaning services.
Step 6: Clean windows, tracks, and frames
Renovations leave dust on glass and in window tracks. Paint or caulk spots can also show up.
Steps:
- Vacuum tracks first
- Wipe tracks with a damp cloth
- Clean glass last to avoid re-smudging
For stubborn marks, use a plastic scraper carefully. Do not use metal blades on coated glass.
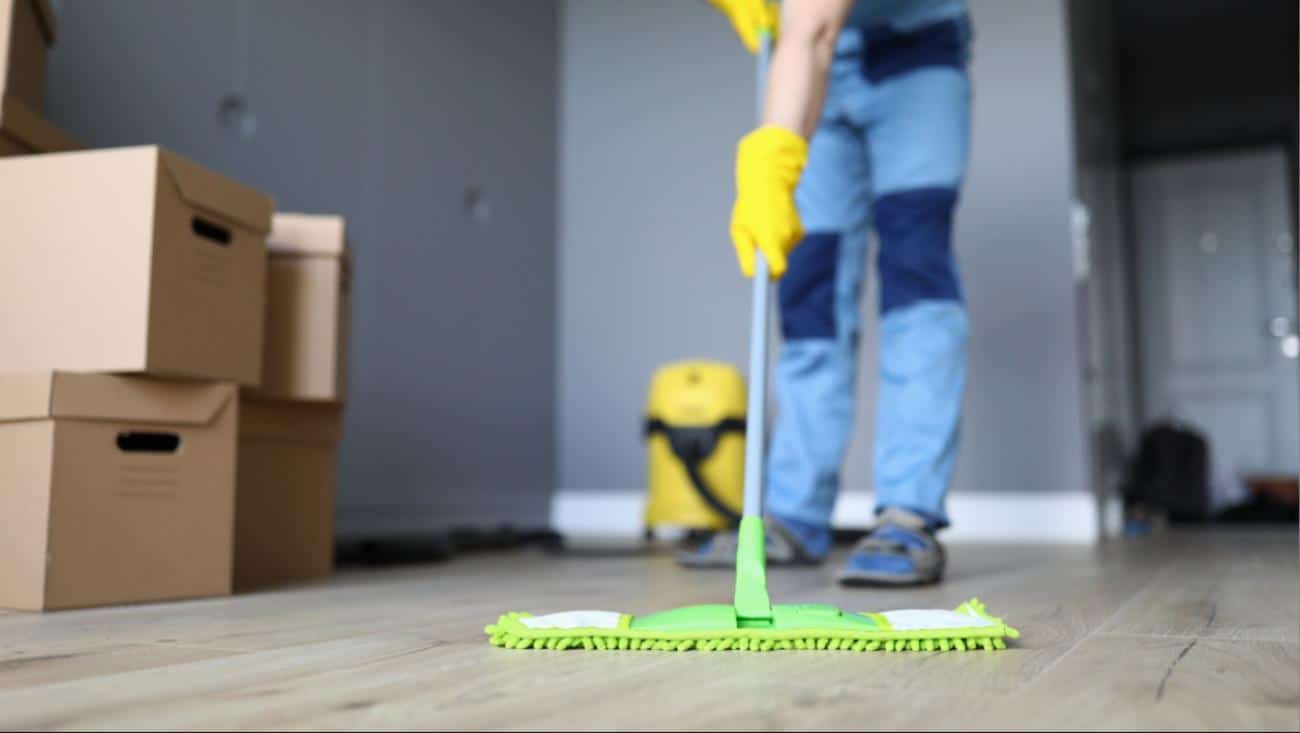
Step 7: Floors: vacuum twice, then mop once
Floors hold the most dust. Still, mopping too early makes mud. So vacuum first.
Best floor routine
- Vacuum edges and corners
- Vacuum the main area
- Repeat in high-dust zones
- Mop using the right cleaner for the floor type
For hardwood, avoid soaking the floor. For tile, rinse often to prevent haze. For carpet, vacuum slowly in 2 directions.
This is the finishing step that makes post construction cleaning feel complete.
How to handle common post-renovation dust problems
Fine dust shows up in predictable ways. Here are quick fixes that keep you moving.
Grout haze on tile
Grout haze can look like a cloudy film. Use a gentle tile-safe product. Then rinse well. If you see haze again, repeat once more.
Paint splatter on trim or glass
Let paint cure first if possible. Then use a plastic scraper. Also, test a small area. Avoid harsh chemicals on new paint.
Dust that keeps returning
This is common after big projects. Do a second light dusting 24 to 48 hours later. Also, replace HVAC filters after your main clean.
Sticky dust on surfaces
Some dust mixes with humidity and turns tacky. Use a mild cleaner and a fresh cloth. Change cloths often.
If these issues feel overwhelming, it may be time to book construction cleaning services and skip the trial-and-error.
When to hire a construction cleaning company
If you want results fast, hire help. A trained team brings systems, tools, and speed. They also help protect new finishes from damage.
Consider hiring a construction cleaning company if:
- The project involved drywall sanding
- The home is over 1,500 sq ft
- You have tight move-in deadlines
- You see dust inside vents or closets
- You want a “ready to live” finish in 1 visit
In McKinney and the Dallas area, many homeowners schedule post construction cleaning right before furniture delivery. That timing works well.
What to ask before booking post construction cleaning services
A good cleaner will explain scope clearly. They should also be flexible and customer-focused.
Ask these questions:
- What is included in your post construction cleaning checklist?
- Do you bring HEPA vacuums and microfiber supplies?
- Is inside cabinets and drawers included or an add-on?
- Do you offer a satisfaction guarantee?
- How long will the cleaning take for my home size?
A trusted cleaning company will answer clearly and recommend the right level of service.
The final 10-minute reset after cleaning
After the main clean, a quick reset helps the home stay dust-free.
Do this:
- Replace HVAC filters
- Run air purifiers if you have them
- Wipe entry floors one more time
- Empty all trash and remove bags outside
- Close cabinets after they fully dry
These small actions lock in your post construction cleaning results.
Ready for Living
Renovations should end with relief, not more stress. When you remove fine dust the right way, your home feels finished and comfortable again. Order, tools, and patience matter. So does knowing when to call in help.
If you want a faster, higher-quality result, book post construction cleaning with a trusted local team. With professional post construction cleaning, your space becomes clean, safe, and truly ready to enjoy.