Most people finish a renovation expecting to sweep up some dust and be done with it. Construction dust does not work that way. It is finer than ordinary household dust, it travels further, it settles more slowly, and it contains particles that are hazardous with repeated or concentrated exposure.
Understanding what construction dust actually is changes how you approach the cleanup. This guide covers the science behind it, the health risks that make proper removal important, and the specific techniques that actually work versus the ones that redistribute the problem.
What this guide covers:
- What construction dust is made of and why it behaves differently
- The fine dust problem: particle size, settlement time, and why it keeps coming back
- Health risks by dust type
- The right tools for actual removal
- Room-by-room technique for complete removal
- When standard cleaning falls short
What construction dust is actually made of
Construction dust is not a single substance. It is a mixture of particles produced by cutting, sanding, drilling, grinding, and demolishing building materials. The specific composition depends on what the renovation involved, and that composition matters because different particles carry different risks.
Drywall dust is one of the most common sources after any renovation that involved new walls, patching, or ceiling work. It consists primarily of gypsum (calcium sulfate), paper fibers, and binding agents. Gypsum dust is not acutely toxic but is an irritant that causes respiratory and eye irritation, and it is exceptionally fine and light.
Silica dust is produced when concrete, brick, tile, stone, or mortar is cut, drilled, or ground. Crystalline silica is classified as a known human carcinogen by the International Agency for Research on Cancer. Repeated or high-level exposure causes silicosis, an irreversible and progressive lung disease. It is present in most tile and concrete renovation work.
Wood dust from cutting, sanding, or routing lumber contains particles that irritate the respiratory tract. Certain hardwoods produce dust classified as a sensitizer, meaning repeated exposure can lead to occupational asthma.
Paint particles released during sanding old paint may contain lead in homes built before 1978. Lead-containing renovation dust requires specific EPA-compliant handling and disposal procedures.
Adhesive, caulk, and sealant residue releases chemical compounds during application and curing. These are not typically a dust hazard after curing is complete, but they contribute to surface residue throughout the renovation area.
Knowing what was cut, sanded, or drilled in the renovation gives you a realistic picture of what you are cleaning up.
The fine dust problem
The particles that cause the most difficulty in post-renovation cleanup are the fine ones, typically under 10 microns in diameter. For reference, a human hair is approximately 70 microns wide.
Fine dust particles remain airborne for hours, sometimes days, after the work that produced them ends. They travel throughout the home via air circulation, HVAC systems, and foot traffic. They settle on every horizontal surface, including inside cabinets, inside HVAC vents, on top of door frames, and on surfaces in rooms that had no direct connection to the renovation area.
The behavior of fine dust after construction explains several things homeowners find frustrating:
Why dust keeps reappearing. If you wipe a surface and find dust again the next day, it is not because cleaning failed. Fine particles that were still airborne at the time of cleaning settled afterward. This is normal and expected. A second pass 24 to 48 hours after the initial clean is often necessary.
Why standard vacuums make things worse. Most household vacuums are not equipped with filters fine enough to capture construction dust particles. They collect the visible debris but exhaust fine particles back into the air through their motor and filter system. This does not clean the space; it relaunches the dust.
Why cleaning the wrong way first compounds the problem. Wiping dusty surfaces with a damp cloth before vacuuming turns dry dust into a paste that smears into porous surfaces, grout lines, and wood grain. Once that paste dries, it is significantly harder to remove.
Health risks: why the cleanup matters beyond appearance
The visible dust on surfaces after a renovation is the easy part to address. The health concern is the fraction that is not visible: the fine and ultrafine particles that remain suspended or settle where they are not noticed.
According to the EPA’s indoor air quality guidance on particle pollution, fine particles (PM2.5, those under 2.5 microns) penetrate deep into the lungs and can enter the bloodstream. Effects range from respiratory irritation and aggravated asthma to more serious cardiovascular and pulmonary impacts with sustained exposure.
For the general population, short-term exposure during a renovation cleanup is not typically a serious health event. The risk is higher for:
- Children, whose lungs are still developing and who breathe more air relative to body weight
- Elderly occupants, who may have reduced respiratory reserve
- Anyone with asthma, COPD, or other respiratory conditions
- Anyone working in the renovation space without respiratory protection over multiple days
The practical implication is straightforward: the space should not be reoccupied as normal living quarters until fine dust has been properly removed from surfaces and air quality has recovered. Running an air purifier with a HEPA filter for 24 to 48 hours after cleaning accelerates that recovery.
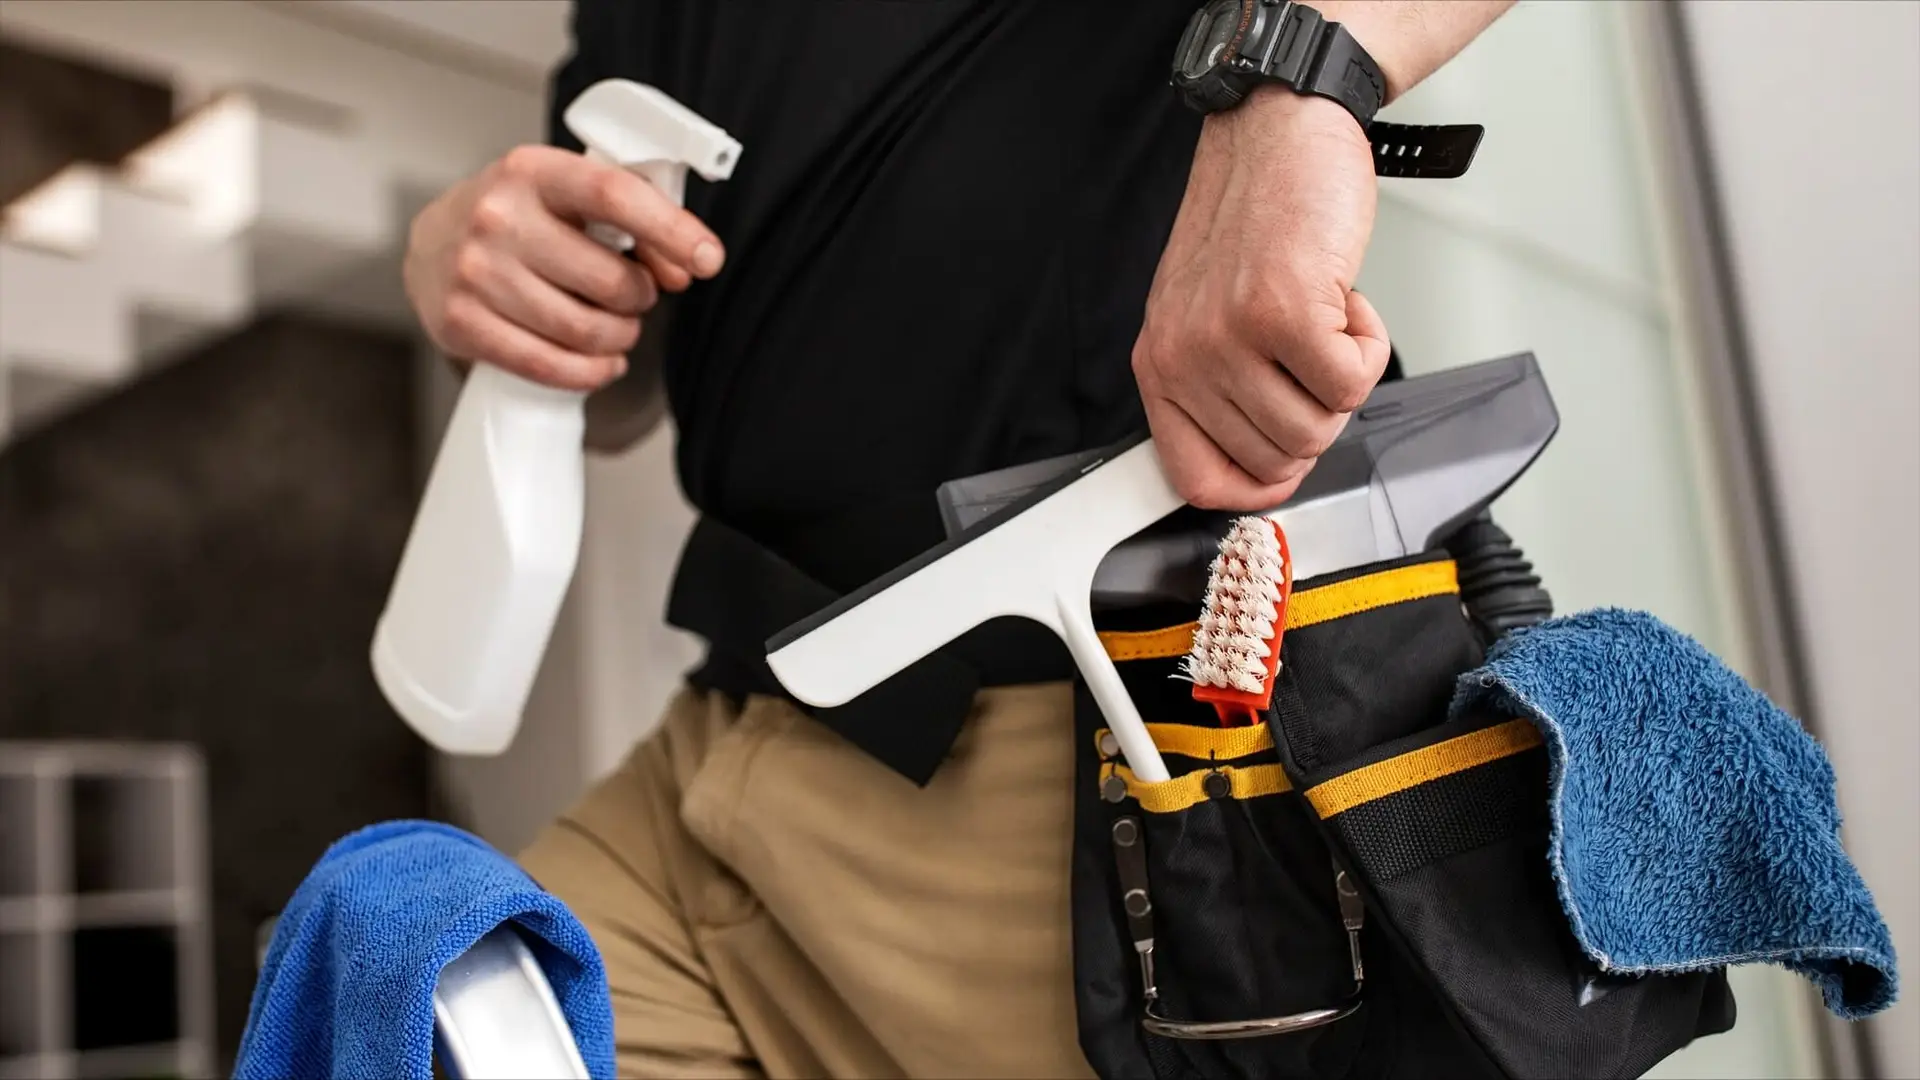
The right tools for construction dust removal
Using the wrong tools produces a clean-looking result that does not actually remove fine dust. These are the tools that work.
HEPA-filtered vacuum. This is the single most important piece of equipment for construction dust removal. HEPA filtration captures particles down to 0.3 microns at 99.97% efficiency. Standard vacuums with paper bags or basic filters capture larger debris but allow fine particles to pass through and exhaust back into the air. If you are renting or purchasing equipment specifically for this task, a HEPA-filtered model is not optional.
Microfiber cloths. Microfiber captures fine particles electrostatically rather than simply pushing them around. Use lightly dampened microfiber cloths for surface wiping after vacuuming. Use dry microfiber for initial dust collection on smooth surfaces. Avoid cotton cloths and paper towels: they are less effective at capturing fine particles and can scratch new surfaces.
Soft brush attachments. For vacuuming walls, light fixtures, vents, and textured surfaces, a soft brush attachment prevents scratching while maintaining suction contact with the surface.
Air purifier with HEPA filter. Running an air purifier during and after cleaning captures airborne fine particles that the vacuum and cloths cannot reach. Position it centrally in the affected space and run it continuously for at least 24 hours after cleaning is complete.
N95 respirator. Protects against fine particle inhalation during the cleaning process itself. Standard dust masks (non-rated fabric masks) are not effective for fine construction dust particles.
How to remove construction dust: room by room
The sequence matters as much as the technique. Work top to bottom in every room, and vacuum before any wet product is applied to any surface.
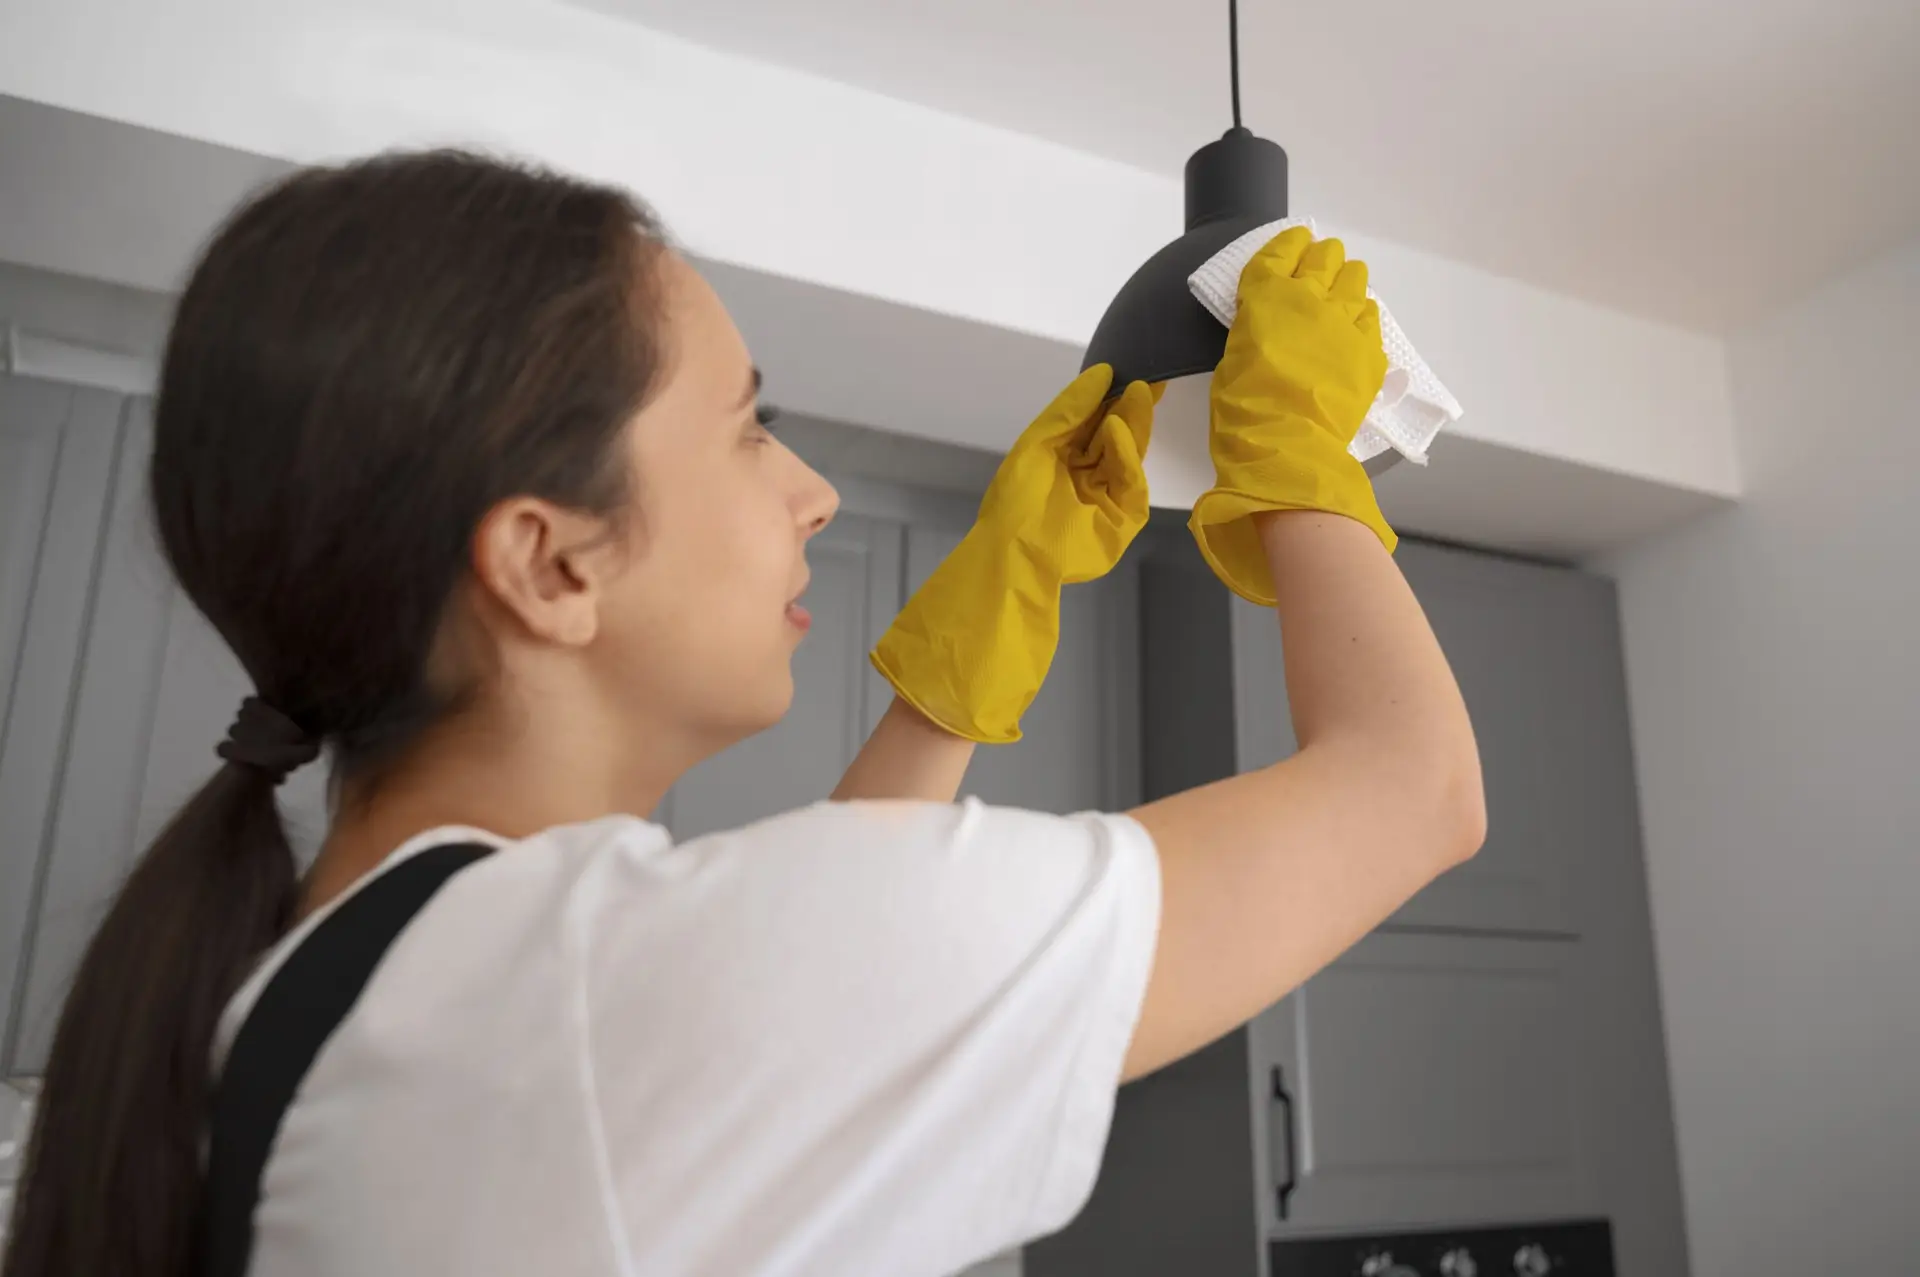
Ceilings, vents, and high surfaces
Start here in every room. Construction dust on ceiling fixtures, fan blades, and vent covers falls downward during cleaning and lands on surfaces below. Cleaning the floor before addressing overhead surfaces means cleaning the floor twice.
- Use the soft brush attachment to vacuum ceiling corners, light fixtures, and the tops of built-in shelving
- Remove vent covers and vacuum them separately, then wipe with a damp microfiber cloth
- Wipe ceiling fan blades on both sides before vacuuming below
- Use a dry microfiber mop or flat duster with an extendable handle for open ceiling areas
Walls and trim
Construction dust settles on vertical surfaces as a thin film that is often not visible in normal lighting but transfers to hands and clothing on contact.
- Vacuum walls from top to bottom using the soft brush attachment on the lowest suction setting that still maintains contact
- Follow with a lightly damp microfiber cloth in overlapping strokes
- On freshly painted walls, check the paint manufacturer’s cure time before wiping: most latex paints need at least 14 days before the surface can be wiped without risking damage
- Wipe all door frames, window casings, and baseboards with a damp cloth after vacuuming
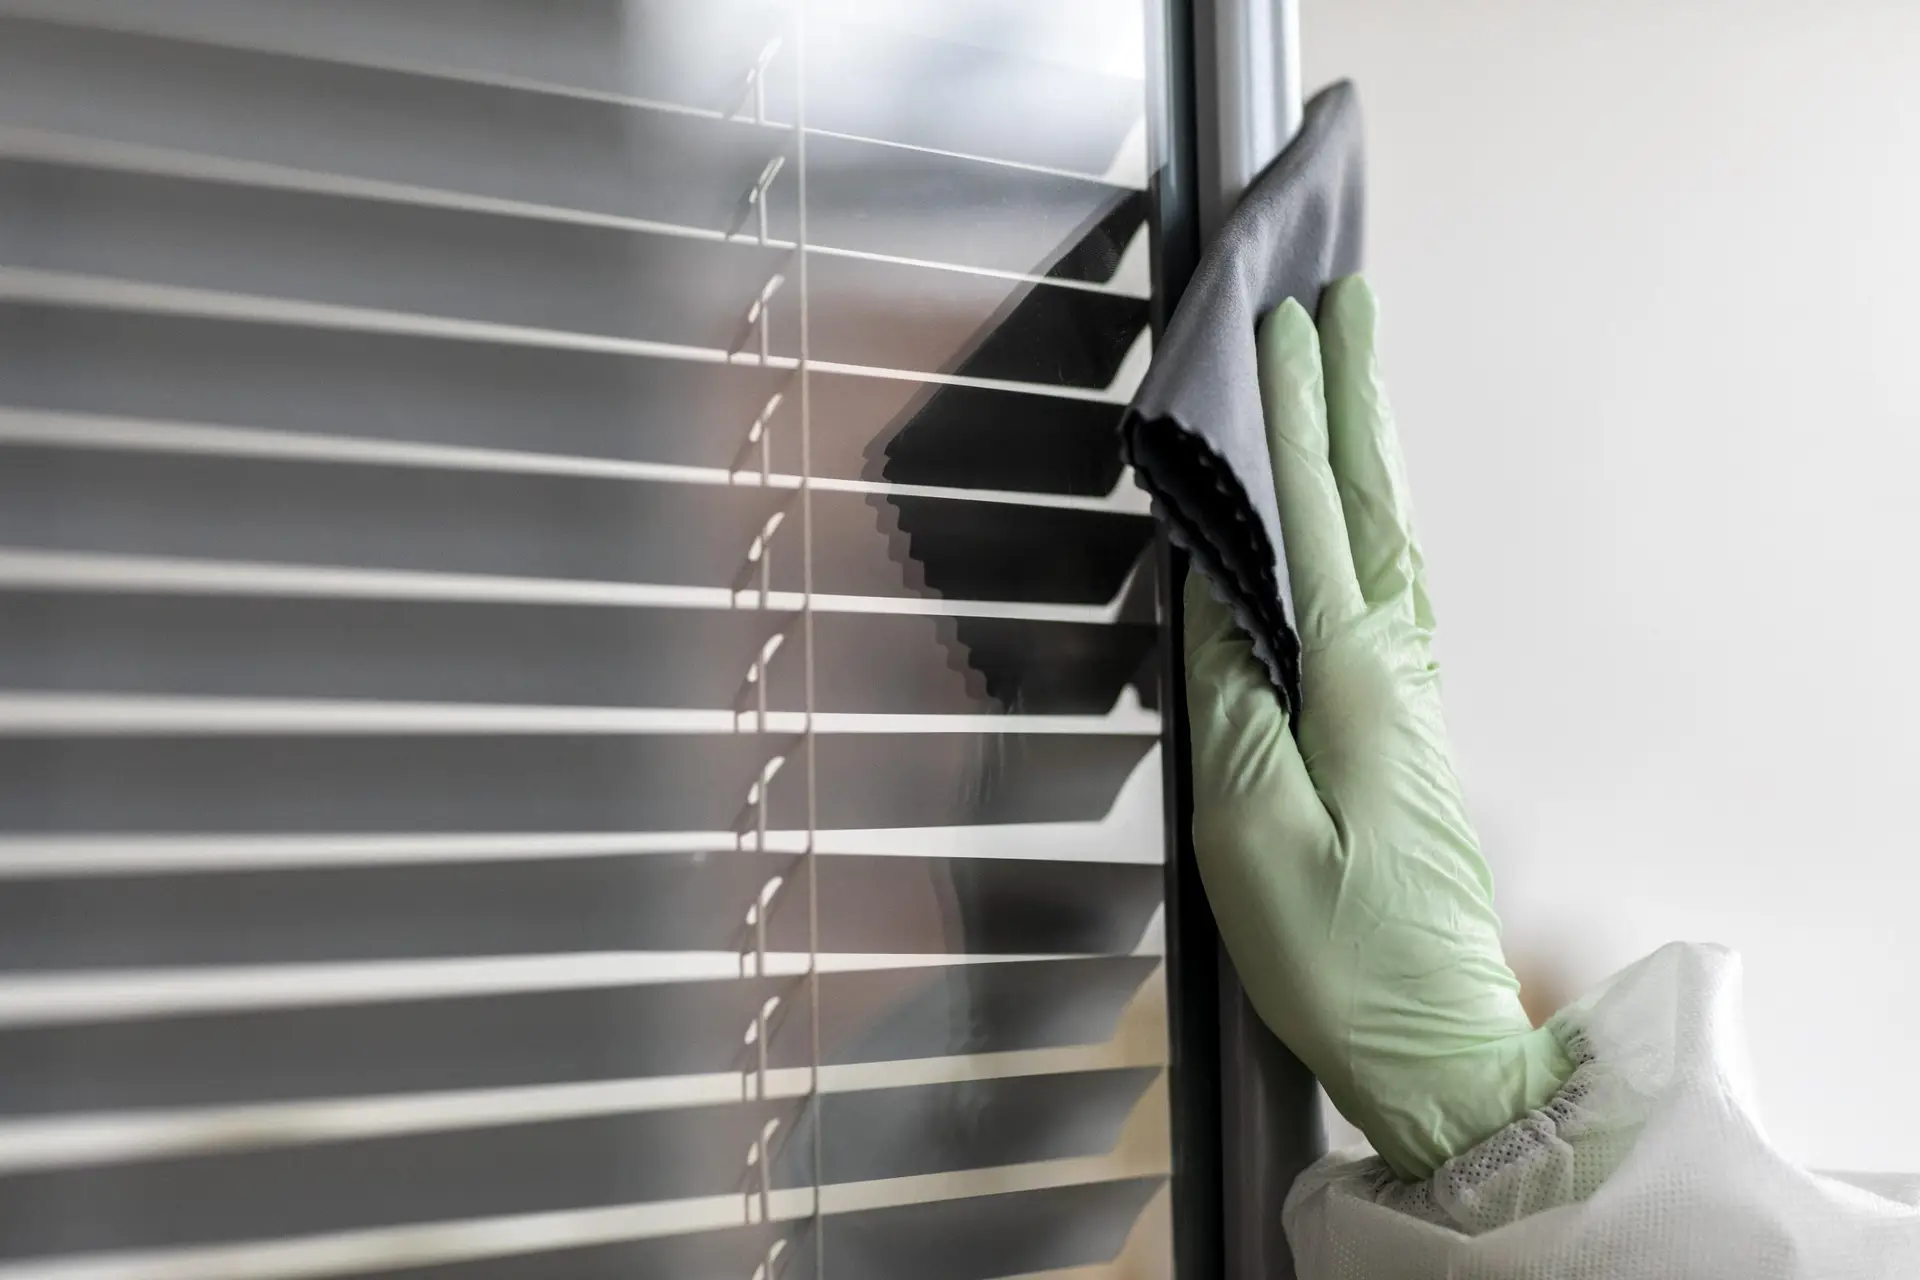
Windows and glass surfaces
Construction dust on glass is compounded by paint overspray, adhesive from protective film, and tape residue. Address these in layers.
- Remove stickers, protective film, and tape residue with a plastic scraper and adhesive remover before cleaning the glass itself
- Vacuum the window frame, sill, and track before any wet product is applied
- Clean glass with a streak-free glass cleaner and a lint-free cloth
- Paint overspray on glass can be removed with a single-edge razor blade held at a very shallow angle: do not use this on treated or coated glass
Cabinets, drawers, and interior surfaces
Fine construction dust penetrates cabinet interiors even when doors were closed during renovation. This is one of the most commonly missed areas in a post-renovation clean.
- Open every cabinet and drawer in rooms connected to the renovation area
- Vacuum shelf surfaces and interior walls with the brush attachment
- Wipe with a lightly damp microfiber cloth
- Check cabinet door fronts and handles, which accumulate both dust and adhesive from tape used during painting
Floors
Floors come last. The sequence above ensures that everything that fell during cleaning above is now on the floor and can be removed in one pass.
- Vacuum all hard floors before mopping: mopping over construction dust without vacuuming first turns it into a paste
- Use the crevice tool along all baseboards and edges, where fine dust accumulates most densely
- Mop with a surface-appropriate cleaner: hardwood requires a pH-balanced hardwood product applied sparingly; tile accepts a wider range of cleaners; never use excess water on hardwood or laminate
- Vacuum carpets with slow, overlapping passes; the crevice tool along edges captures the dense accumulation that collects at the base of walls
When a second pass is necessary
For most renovation projects, one thorough clean is not enough. Fine particles that were airborne during cleaning settle in the 24 to 48 hours afterward. This is not a failure: it is the physics of how fine dust behaves.
A second pass the day after the initial clean catches the settlement from the first round. It is typically faster than the first clean because the volume is lower, but it should follow the same top-to-bottom sequence and use the same tools.
For renovations involving significant drywall work, concrete cutting, or tile installation, a third light pass after another 24 hours is sometimes warranted before the space is considered ready for normal occupancy.
What professional post-construction cleaning adds
Professional teams bring commercial-grade HEPA vacuums with significantly higher suction capacity than residential models, and they work in parallel across multiple surfaces. The result is a more thorough removal of fine construction dust in less time, with lower risk of scratching new finishes from incorrect technique or product choice.
For renovations involving silica-producing work (tile, concrete, masonry), the occupational health argument for professional cleaning is particularly strong. Limiting additional exposure during cleanup, especially without proper commercial equipment, is a reasonable precaution.
If you need professional post-renovation dust removal in McKinney, Plano, Frisco, or the wider DFW area, E&R’s post-construction cleaning service uses HEPA-filtered equipment and surface-specific products for every finish type. For a complete step-by-step guide to the full post-renovation process, the cleaning after renovation guide covers each stage before move-in.
Frequently asked questions
How long does construction dust stay in the air? Fine construction dust particles can remain airborne for several hours to a few days after the work that produced them ends. Heavier particles settle faster. Particles under 10 microns, particularly silica and fine drywall dust, can stay suspended significantly longer if the space has airflow. Ventilating and running an air purifier with a HEPA filter accelerates settlement and removal.
Why does construction dust keep coming back after I clean? Particles that were still airborne when you cleaned have since settled. This is normal for fine dust. Wait 24 hours after the initial clean and do a second pass. If dust continues to reappear, the HVAC system may be recirculating it through dirty ducts or a clogged filter.
Can I use a shop vac for construction dust? A standard shop vac without a HEPA filter exhausts fine particles back into the air. Some shop vacs accept HEPA filter upgrades: check the manufacturer’s specifications. If the shop vac does not have HEPA filtration, it is suitable for large debris removal but not for fine dust.
Is construction dust dangerous to breathe during cleanup? Short-term exposure during a single cleanup is not typically a serious health event for most adults. The risk increases with the type of dust (silica is the highest concern), the duration of exposure, and individual health factors. Wearing an N95 respirator during post-construction cleanup is a straightforward precaution that significantly reduces inhaled particle count.
How do I know if my home needs a professional construction dust clean? The scale of the renovation is the best indicator. A small cosmetic project in one room is manageable with the right household tools and technique. A renovation involving drywall, tile, concrete, or any structural work across multiple rooms produces a volume and type of fine dust that professional commercial-grade equipment addresses more thoroughly than most household setups.
Should I clean construction dust before or after painting touch-ups? After. Paint touch-ups generate their own fine spray and dry particles. Complete all remaining renovation work before beginning the post-construction clean. Cleaning before the last trades finish means cleaning twice.
Fine dust is the last thing the renovation leaves behind
Construction dust is not visible in the way that sawdust and debris are. It is the fine layer on every surface, the film on the walls, the particles in the HVAC filter, and the accumulation along baseboards that the eye does not catch in normal light.
Removing it correctly, with the right tools and in the right sequence, is what makes the difference between a space that looks clean and one that actually is. The reno
Keep Reading
Rather hand the work to a team that does this every day? See our post construction cleaning service or call (214) 430-4447 for a free quote.
Want Your Home to Look Like This Without the Work?
Tell us about your place and we will send you a price. No walkthrough required, no obligation.
- Free quote with no obligation
- Non toxic and pet friendly products
- Bonded and insured, serving DFW since 2002
- 24 hour guarantee on our service
Prefer to talk? (214) 430-4447
By completing this form I acknowledge that I will receive informational text messages from E&R Cleaning Services. I can opt out at any time by replying STOP. Standard message rates may apply.