Stainless steel appliances look impressive when clean and frustrating within minutes of wiping them down. The streaks, fingerprints, and smudges that return immediately after cleaning are not a product problem or a technique problem in isolation. They are both, and most people are getting at least one of them wrong.
Understanding how do you clean stainless steel correctly requires knowing two things: the grain direction of the surface, and which products damage the material versus which ones actually work. Once those two pieces are in place, the process becomes straightforward and the results last significantly longer.
Why stainless steel streaks and smudges so easily
Stainless steel is not a uniform, perfectly flat material. It has a fine brushed texture created during manufacturing, with microscopic grooves running in one consistent direction. These grooves are what give the surface its characteristic matte-to-satin appearance.
When oils from your fingers contact the surface, they fill those grooves. Light hitting the filled grooves scatters differently than light hitting clean grooves, which creates the smudged appearance. The same principle applies to cleaning product residue that is not fully removed.
Wiping against the grain pushes residue across the grooves at perpendicular angles, creating streaks that catch light differently from multiple directions and are much harder to remove than the original smudge.
Understanding the grain direction is the single most impactful change most people can make to their stainless steel cleaning results.
How to identify the grain direction
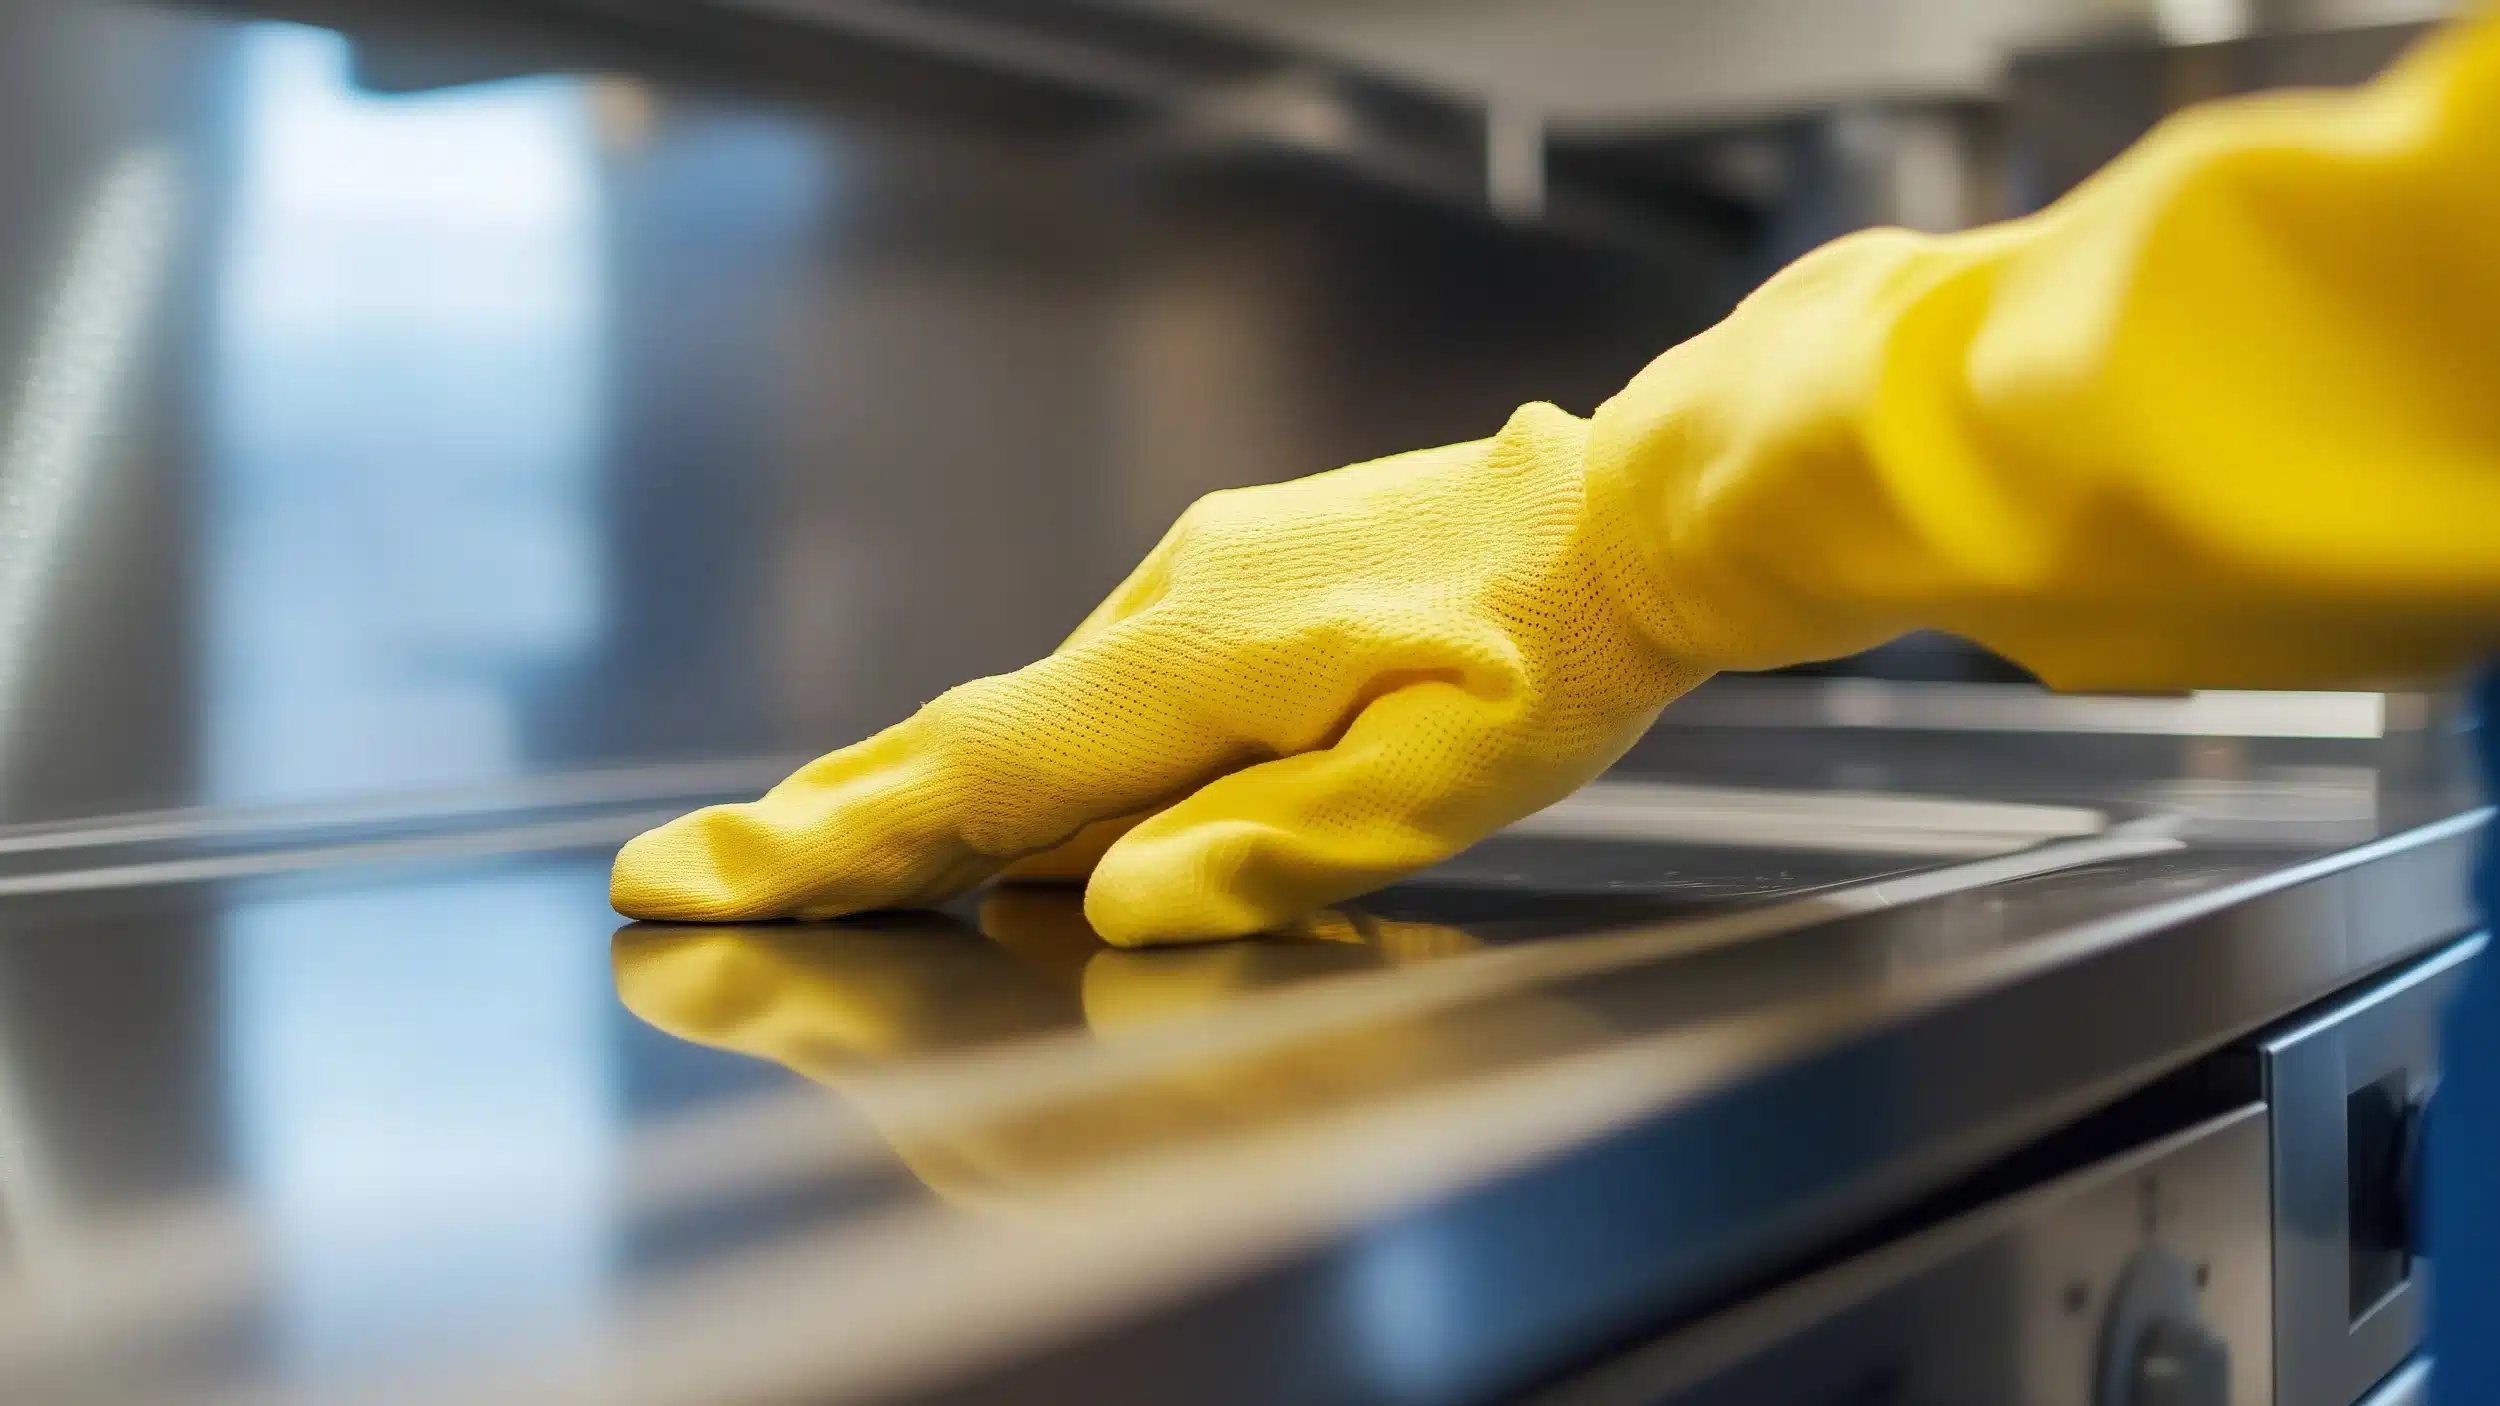
Look at the surface at an angle in natural or strong artificial light. You will see fine lines running in one direction, typically horizontal on refrigerators and dishwashers, sometimes vertical on ranges or ovens. Run your finger lightly across the surface in both directions. One direction will feel slightly smoother than the other. That smoother direction is with the grain.
Always wipe parallel to these lines, never across them. On different appliances in the same kitchen, the grain may run in different directions. Check each appliance separately before starting.
What you need to clean stainless steel appliances
For routine cleaning:
- Two clean microfiber cloths
- Warm water and a small amount of dish soap
- White vinegar in a spray bottle
For finishing:
- Baby oil, mineral oil, or a dedicated stainless steel polish
For stubborn stains:
- Baking soda and water (paste)
- Lemon juice
Never use steel wool, abrasive scrub pads, bleach, oven cleaner, or any product containing chlorine on stainless steel surfaces. These cause damage that cannot be reversed.
8 stainless steel cleaning mistakes that leave smudges every time
Mistake 1: Wiping against the grain
This is the most common and most damaging error. Wiping against the grain does not clean the grooves; it deposits residue across them at a perpendicular angle and creates micro-scratches in the surface texture over time. Every subsequent cleaning becomes progressively harder.
Find the grain direction first, then commit to wiping parallel to it for every stroke.
Mistake 2: Using too much water
Excess moisture leaves water spots as it evaporates, particularly in hard water areas. The minerals in tap water leave white deposits in the grooves that become more visible than the original smudge. Use a barely damp cloth, wring it thoroughly, and dry the surface immediately after any wet cleaning step.
Mistake 3: Using paper towels
Paper towels are made from wood pulp fibers that scratch stainless steel with repeated use. They also leave lint in the textured grooves. Microfiber cloths are the correct tool. They lift oils from the groove structure rather than spreading them, and they leave no lint.
Mistake 4: Not checking the grain on each appliance
The refrigerator grain may run vertically while the dishwasher runs horizontally. Ranges and ovens sometimes have different grain directions on different panels. Check each appliance individually before cleaning. Assuming all appliances share the same grain direction leads to streaking on the ones you got wrong.
Mistake 5: Using vinegar on coated or sealed stainless steel
White vinegar works well on standard stainless steel, cutting through grease and hard water deposits without leaving residue. However, some newer appliances have a fingerprint-resistant coating applied over the steel. Vinegar’s acidity degrades these coatings over time.
Check your appliance manual before using vinegar. If the manual specifies a fingerprint-resistant or specialty finish, use only the manufacturer’s recommended cleaner.
Mistake 6: Not rinsing dish soap residue completely
Dish soap leaves a thin film when not fully removed. That film is what causes the dull, slightly hazy appearance after cleaning. After washing with soap, always follow with a clean damp cloth to remove all soap traces, then immediately follow with a dry cloth to remove the moisture.
Mistake 7: Skipping the oil finish
This is the step that separates a clean-looking surface from one that resists future smudging. After cleaning and drying the surface, apply a small amount of baby oil or mineral oil to a clean microfiber cloth and buff it into the surface following the grain direction.
The oil fills the micro-grooves in the texture and creates a thin barrier that repels fingerprint oils. The effect lasts three to five days under normal use. Reapply after each full cleaning session.
Mistake 8: Using chlorine-based or bleach cleaners
Chlorine attacks stainless steel at the molecular level, corroding the chromium oxide layer that gives the material its corrosion resistance. The damage begins as invisible pitting and progresses to surface rust and permanent discoloration. Any cleaning product containing bleach, chlorine, or sodium hypochlorite should never contact stainless steel surfaces.
How do you clean stainless steel with set-in stains
Understanding how do you clean stainless steel when standard wiping fails requires a more targeted approach based on the stain type.
For baked-on grease: Make a paste of baking soda and a small amount of dish soap. Apply it to the stain following the grain direction with a soft cloth. Let it sit for five minutes, then wipe away following the grain. Rinse with a clean damp cloth and dry immediately. Apply the oil finish.
For hard water deposits and mineral buildup: Apply undiluted white vinegar (confirming first that the appliance has no specialty coating) and let it sit for two to three minutes. The acetic acid dissolves the mineral deposits. Wipe along the grain and dry immediately.
For light surface rust spots: A paste of baking soda and lemon juice applied with a soft cloth and left for three minutes often removes surface oxidation on standard stainless steel. For deeper rust, a commercial stainless steel rust remover is more appropriate. Do not use abrasive pads at any stage.
For fingerprints on a clean, oiled surface: A dry microfiber cloth wiped along the grain removes fingerprints from an oiled surface in seconds. This is the primary maintenance benefit of the oil finish step.
Cleaning schedule for stainless steel appliances
| Task | Frequency |
|---|---|
| Dry microfiber wipe for fingerprints | Daily |
| Full clean with soap and distilled water | Weekly |
| Vinegar treatment for hard water spots | As needed |
| Oil finish application | Monthly, or after each deep clean |
| Baking soda treatment for stains | As needed |
Frequently asked questions
Can I use olive oil instead of baby oil to finish stainless steel? Olive oil can work in the short term but goes rancid more quickly than mineral oil or baby oil, which can eventually create an unpleasant odor. Mineral oil or a dedicated stainless steel polish is more reliable for regular use.
Why does my stainless steel look worse after using a commercial stainless steel spray? Many commercial sprays leave a film if applied too liberally or not buffed out completely. Apply a small amount to the cloth rather than spraying directly onto the surface, and buff thoroughly along the grain until no visible residue remains.
Is stainless steel actually rust-proof? No. The name refers to its resistance to staining and corrosion, not immunity to it. The chromium content (at least 10.5 percent by definition for stainless steel) creates a passive oxide layer that resists rust under normal conditions. Chlorine, bleach, and prolonged salt exposure all compromise this layer and can cause rust.
How do I remove a scratch from stainless steel? Light scratches can sometimes be reduced with a stainless steel scratch remover or a fine scotch-brite pad used very carefully along the grain direction. Deep scratches generally require professional refinishing or panel replacement. Prevention through correct technique is far more practical than repair.
The kitchen environment beyond the appliances
Stainless steel appliances are the most visible surface in most kitchens, but the cleanliness of the broader environment affects how quickly they show grime. Range hood grease, condensation from cooking, and kitchen dust all land on appliance surfaces continuously.
For a comprehensive kitchen reset that covers every surface and appliance interior, a professional deep cleaning service addresses the entire environment in one session.
Maintaining that standard consistently with a regular cleaning service schedule means appliances stay cleaner between your own maintenance passes and require less effort each time.
Clean stainless steel that actually stays clean
Knowing how do you clean stainless steel the right way reduces the effort, extends the time between sessions, and produces results that actually look like the before-and-after photographs on appliance manufacturer websites.
Find the grain, wipe parallel to it, use a barely damp cloth, remove all product residue, dry immediately, and finish with a thin coat of mineral oil. Those six steps, applied consistently, are the complete answer to streaky, smudged stainless steel in any kitchen.