The contractors are gone and the renovation looks exactly as planned. But the space is not ready to live in yet. Cleaning after renovation is its own task, separate from the construction itself, and it takes more time and care than most homeowners expect.
Construction dust is not ordinary household dust. It settles on every surface in the home, including rooms far from the work area, and contains fine particles that require specific equipment and technique to remove safely. Skipping steps or rushing the process creates problems that are harder to fix after the fact.
These eight steps cover everything that needs to happen before you move back in, in the order that makes each step more effective.
What these steps cover:
- Safety checks before you touch anything
- The right order for dust removal
- Surface-specific cleaning for new finishes
- The final check before the space is move-in ready
Before you start: two safety steps that come first
Cleaning after renovation begins before any product is applied or any surface is wiped. These two steps protect both you and the new finishes.
Ventilate the space. Open every window and run fans for at least 30 minutes before entering to clean. Construction creates airborne fine particles that remain suspended for hours after work stops. Ventilating first reduces what you inhale and helps settle dust to surfaces where it can be removed.
Wear protection. An N95 respirator is appropriate for construction dust exposure, especially if the renovation involved drywall, concrete, or any cutting or sanding. Gloves protect your hands from chemical residue left by adhesives, sealants, and fresh caulk. Goggles are worth using in any space where dust is still visibly present.
Step 1: remove large debris before anything else
Before vacuuming or wiping any surface, clear the space of all large debris: leftover construction materials, packaging, drop cloths, scraps of drywall or wood, and any tools or supplies left by the contractor. Use heavy-duty contractor bags for disposal.
Attempting to vacuum or sweep while large debris is on the floor creates a less efficient process and can damage equipment. A clear space first means every step that follows is more effective.
Check less obvious spots as you go: inside cabinets if they were open during construction, on window sills, in the back of closets near the renovation area, and on top of appliances.
Step 2: replace HVAC filters before running the system
This step is one of the most important in cleaning after renovation, and one of the most frequently skipped.
Construction dust circulates through the HVAC system during renovation. The existing filter is almost certainly loaded with fine particles. Running the system before replacing it pushes contaminated air back through every vent in the home, undoing the cleaning you are about to do and redistributing dust that was settled.
Replace all filters with a MERV 11 or higher option before the system runs at all. In the weeks after move-in, check filters more frequently than usual and replace them again if they show heavy loading.
If the renovation was long or involved significant drywall work, having the ductwork professionally inspected is worth considering before the system runs for the first time.
Step 3: vacuum every surface before using any wet product
The order of this step matters. Wiping dusty surfaces with a damp cloth before vacuuming smears construction dust into a paste that is significantly harder to remove and can stain grout, wood, and porous surfaces.
Vacuum first, using a HEPA-filtered vacuum wherever possible. Standard household vacuums without HEPA filtration capture coarser debris but release fine particles through their exhaust, putting construction dust back into the air you are trying to clean.
Vacuum in this order:
- Ceiling corners and light fixtures (use a brush attachment)
- Walls from top to bottom (a soft brush or microfiber attachment works on painted surfaces)
- Window sills, ledges, and the tops of door frames
- All flat surfaces: shelves, countertops, furniture
- Baseboards and floor edges with the crevice tool
- Floors last, after everything above has been vacuumed
Vacuuming walls is a step most people skip. In a renovation environment, a thin film of construction dust coats painted surfaces throughout the home, not just in the work area. Skipping this step means that film gets redistributed every time someone brushes against the wall or airflow moves through the space.
Step 4: wipe walls and ceilings with a damp microfiber cloth
After vacuuming, wipe all wall and ceiling surfaces with a lightly damp microfiber cloth. The goal is to capture the fine residual film that vacuuming leaves behind.
Use a clean cloth, lightly dampened with plain water. Avoid applying any cleaning product directly to freshly painted walls during the first two weeks after painting. Most latex and water-based paints take at least 14 days to fully cure. Wiping before the paint has cured can lift or mark the surface even with a gentle cloth.
Work in sections from top to bottom and change or rinse the cloth frequently. Construction dust is dense and will load a cloth quickly.
Step 5: clean windows, glass, and frames completely
Windows collect layers of construction residue: dust, paint overspray, adhesive from protective film, tape residue from masking, and general construction film on the glass itself.
Clean in this order for each window:
- Remove any stickers, protective film, or tape residue using a plastic scraper and then an appropriate adhesive remover
- Wipe the window frame and sill with a damp cloth
- Clean the window track and any sliding mechanisms
- Clean the glass with a glass cleaner and a lint-free cloth, working top to bottom in straight strokes
For paint overspray on glass, a single-edge razor blade held at a low angle removes the residue without scratching the glass. Do not use this technique on treated or coated glass surfaces: check with the manufacturer first.
Step 6: clean floors according to their material
Floors are the last surface to clean, and the technique varies significantly by material. Using the wrong approach on new renovation floors is where most cleaning-after-renovation damage occurs.
Hardwood and engineered wood: Sweep or dry-vacuum before any wet cleaning. Use a hardwood-specific cleaner applied sparingly with a barely-damp mop. Excess water is the primary risk on wood floors: it causes warping, discoloration, and finish damage. Never mop with a soaking wet mop on wood.
Tile and grout: Sweep or vacuum first. Mop with warm water and a pH-neutral cleaner. If grout haze is present on new tile (a chalky film left by the grouting process), do not use standard household cleaners. Grout haze requires a dedicated acidic grout haze remover, applied at the manufacturer’s specified dilution, wiped and rinsed within a narrow time window. Leaving grout haze untreated causes permanent dullness on tile surfaces.
Laminate: Dry-vacuum thoroughly before any wet cleaning. Use a laminate-specific cleaner or a very lightly damp mop. Laminate is more water-sensitive than tile and less forgiving than hardwood. Standing water on laminate edges causes swelling and separation.
Carpet: Vacuum with slow, overlapping passes using the crevice tool along all edges. If carpet was present during the renovation and dust was not fully contained, a professional steam clean at this stage removes fine particles embedded in the fibers that vacuuming alone cannot reach.
Step 7: address construction-specific residue on fixtures and surfaces
Standard dust cleaning covers most of the space, but renovation leaves specific residue types that need targeted treatment.
Paint splatters on hard surfaces: A small amount of rubbing alcohol or an appropriate solvent removes dried paint from tile, stone, and metal without damaging the surface. Test on an inconspicuous area first. For hardwood, use a product specifically rated for paint removal on wood floors.
Caulk and adhesive residue: Adhesive remover products (available at hardware stores) dissolve caulk and construction adhesive from tile, glass, and countertops without abrasive scrubbing that could scratch new surfaces.
Grout haze: As noted above, only a dedicated grout haze remover works on this. If the tile was grouted recently, check the manufacturer’s guidance on timing: some products specify a waiting period before haze removal.
Stainless steel and chrome fixtures: Wipe with a microfiber cloth dampened with plain water, then dry immediately. Construction dust that sits on stainless steel and chrome for extended periods can etch the surface if not removed before it dries into a film.
Step 8: final walkthrough before move-in
Before considering cleaning after renovation complete, do a room-by-room walkthrough under good lighting.
- Run your hand along baseboards and the tops of door frames: these are the most commonly missed surfaces
- Check inside every cabinet and drawer, including in rooms adjacent to the renovation
- Open the HVAC vents and look for visible dust accumulation on the vent covers
- Check behind toilets and under sinks in renovated bathrooms
- Look at the floor along the edges of each room, where dust accumulates despite vacuuming the center
- Check light fixtures: ceiling dust often settles into fixture shades and covers
If anything needs attention, address it before moving furniture and personal belongings back in. Once the space is furnished, access to baseboards, floor edges, and behind appliances becomes significantly harder.
When to bring in a professional
Cleaning after renovation yourself is practical for limited-scope projects in good conditions. A professional team makes more sense when the renovation was extensive, when new luxury finishes require specific product knowledge, or when the timeline for occupancy is short.
Professional post-renovation cleaning uses HEPA-filtered commercial vacuums that capture particles down to 0.3 microns, surface-specific products for every finish type, and a systematic process that covers the areas most homeowners miss: inside ductwork, grout haze treatment, behind appliances, and the fine wall film that settles throughout the home during any construction project.
According to the CDC’s guidance on healthy indoor environments, removing fine particulate matter from surfaces and improving air quality after any dust-generating activity is important for respiratory health, particularly for children, elderly occupants, and anyone with asthma or allergies. A thorough professional clean at the end of a renovation addresses this at a level that DIY cleaning with standard equipment typically cannot match.
If you are in the DFW area, E&R’s post-construction cleaning service covers all eight steps with the right equipment and surface-specific technique for every finish type in your renovated space.
Frequently asked questions
How long does cleaning after renovation take? For a single-room renovation in a mid-size home, expect four to six hours of thorough cleaning. A whole-home renovation can take two to three full days when done properly. Professional teams typically complete the same scope in significantly less time because they work in parallel and bring commercial-grade equipment.
Can I run the air conditioning while cleaning after renovation? Not until you have replaced the HVAC filter. Running the system with a dust-loaded filter spreads fine renovation particles back through every vent. Replace the filter first, then you can run the system to help with ventilation during cleaning.
Do I need to clean rooms that were not renovated? Yes. Construction dust travels throughout the home through air circulation and foot traffic. Every room in the home will have some level of fine dust deposition, particularly on horizontal surfaces. The rooms adjacent to the renovation area will have the heaviest accumulation.
How do I know if there is grout haze on my new tile? Grout haze appears as a cloudy, chalky film on the tile surface around the grout lines. It is most visible when the tile is dry and in good light. It does not wipe off with a damp cloth. If you can see it, address it with a dedicated grout haze remover before it hardens further: the longer it is left, the more difficult it becomes to remove.
Is it safe to sleep in the house immediately after cleaning after renovation? Once the eight steps above are complete, including HVAC filter replacement and ventilation, the space is generally safe to occupy. If any concern remains about air quality, running an air purifier with a HEPA filter for 24 to 48 hours before sleeping in the space provides an additional level of reassurance.
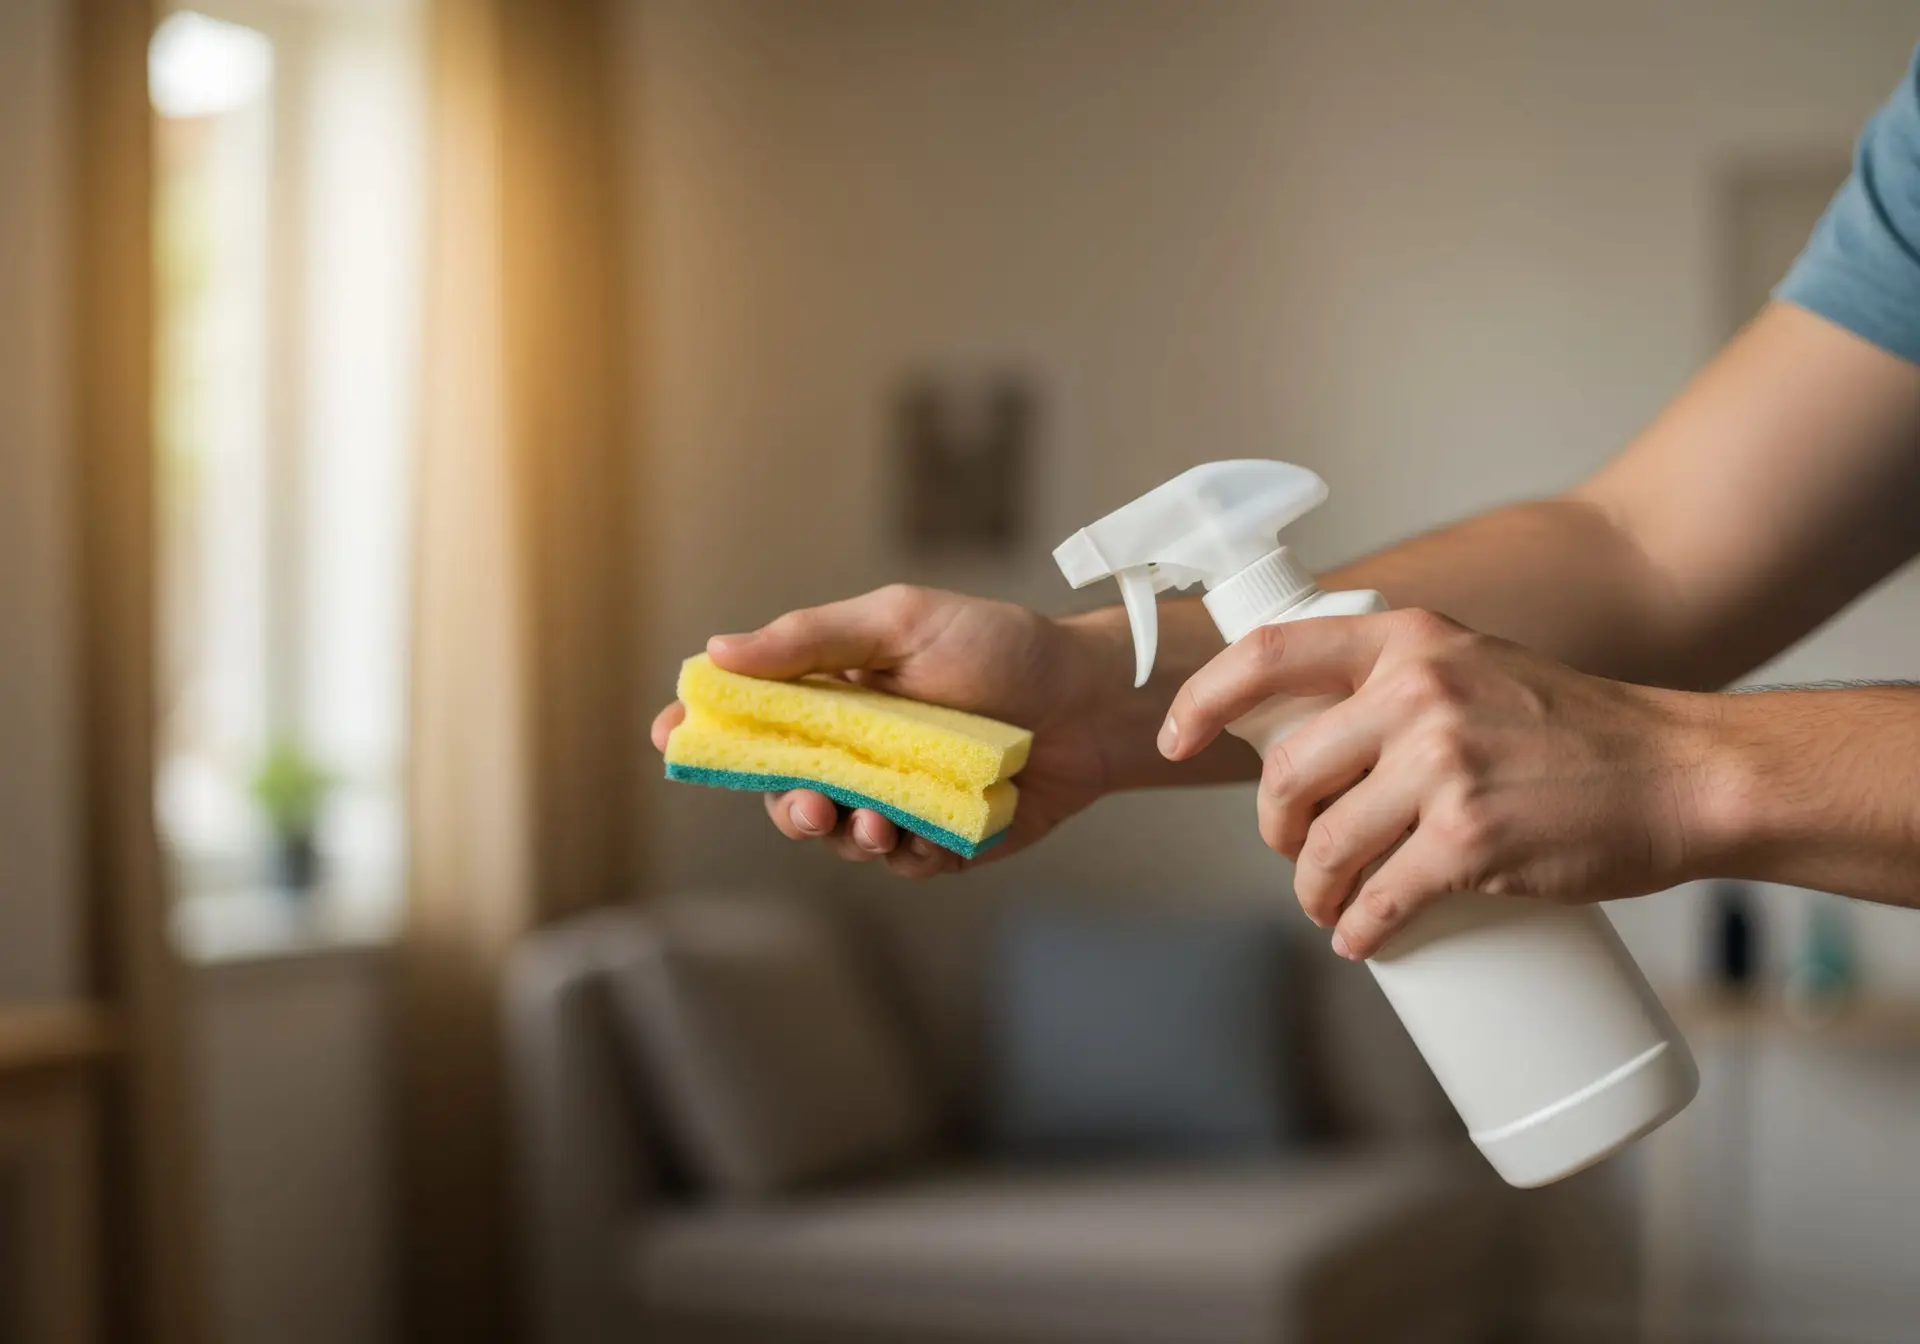
What if I find additional construction mess after moving back in? Keep a spray bottle of appropriate all-purpose cleaner and microfiber cloths accessible for the first few weeks after move-in. It is normal to find residual dust in corners, on high shelves, or behind items as you settle in. These are minor and manageable with targeted spot cleaning.
The renovation is done when the cleaning is done
Cleaning after renovation is the final step that turns a construction site back into a home. Each of the eight steps above addresses a specific type of renovation residue in the order that makes the overall process most efficient.
Work top to bottom. Vacuum before you wipe. Replace the HVAC filter before you run the system. Address surface-specific residue with the right products. And do the final walkthrough before the furniture goes back in.
If the scope is beyond what you can handle personally, or if the new finishes require specialist treatment, E&R’s post-construction cleaning service in McKinney, Plano, Frisco, and the wider DFW area covers every step with the equipment and technique that the job actually requires.
Keep Reading
Rather hand the work to a team that does this every day? See our post construction cleaning service or call (214) 430-4447 for a free quote.