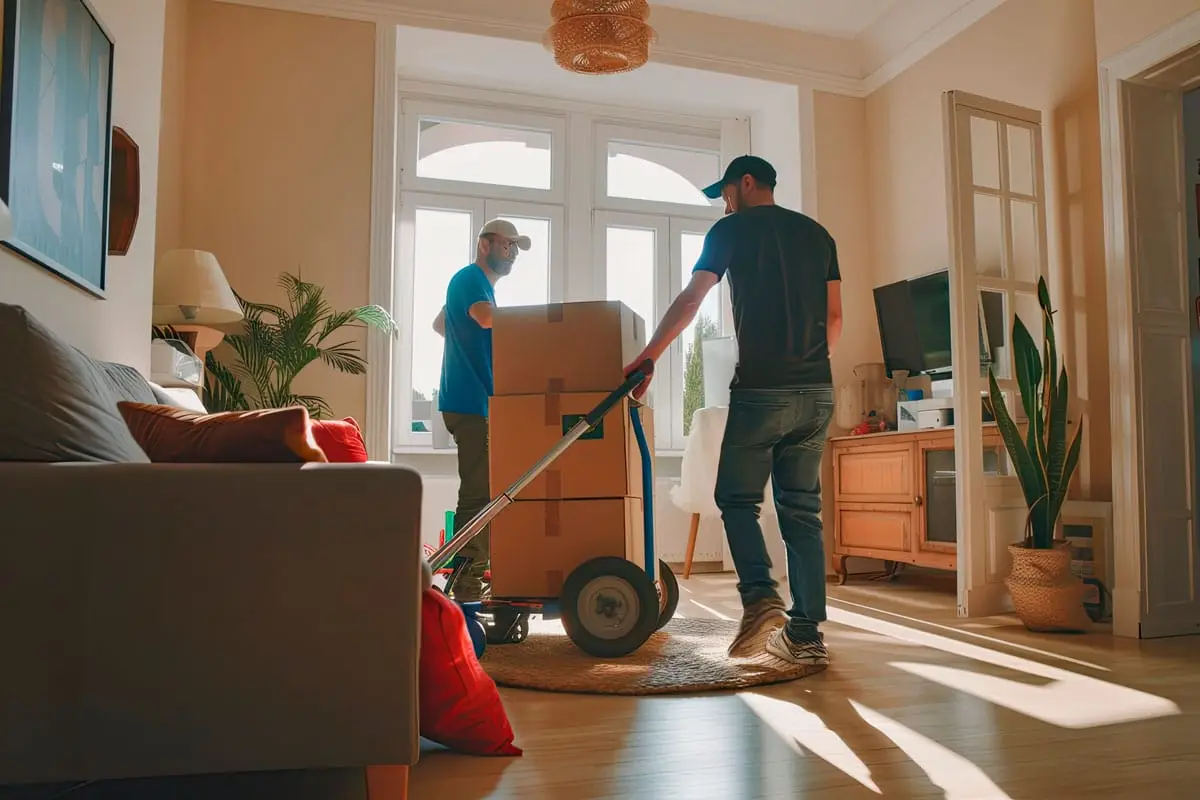
Hiring a move-out cleaning service is one of the most practical decisions a tenant can make before handing over the keys. It removes the stress of deep cleaning a property you are already in the process of leaving, and it gives you documented proof that the job was done properly.
But not all services cover the same scope, and knowing what to expect before you book saves time, money, and avoids surprises on inspection day.
What this guide covers:
- What a professional move-out cleaning service includes
- What is typically not covered
- How much it costs in Texas
- How to choose the right company
- When DIY makes sense and when it does not
What a move-out cleaning service includes
A professional move-out cleaning service goes well beyond a standard maintenance clean. The focus is on returning the property to its original condition, which means cleaning areas that are rarely touched during everyday upkeep.
Here is what most reputable services cover:
Kitchen:
- Inside the oven, including racks, glass door, and door seals
- Inside the refrigerator and freezer, including removable shelves and drawers
- Stovetop, burner grates, drip pans, and range hood filter
- Inside and outside of all cabinets and drawers
- Countertops, backsplash, and sink with limescale removal
- Microwave interior and exterior
- Garbage disposal deodorizing
Bathrooms:
- Tub and shower walls, scrubbed free of soap scum and mildew
- Grout lines scrubbed to remove staining
- Toilet cleaned inside and out, including base and behind the tank
- Sink, faucet, and countertop
- Mirrors polished streak-free
- Chrome fixtures descaled
- Vanity drawers and cabinets wiped out
Living areas and bedrooms:
- Ceiling fan blades wiped on both sides
- Baseboards and door frames cleaned
- Walls spot-cleaned for scuffs
- Blinds dusted
- Windows cleaned from the inside, including sills and tracks
- Closet shelves wiped and floors swept
Floors:
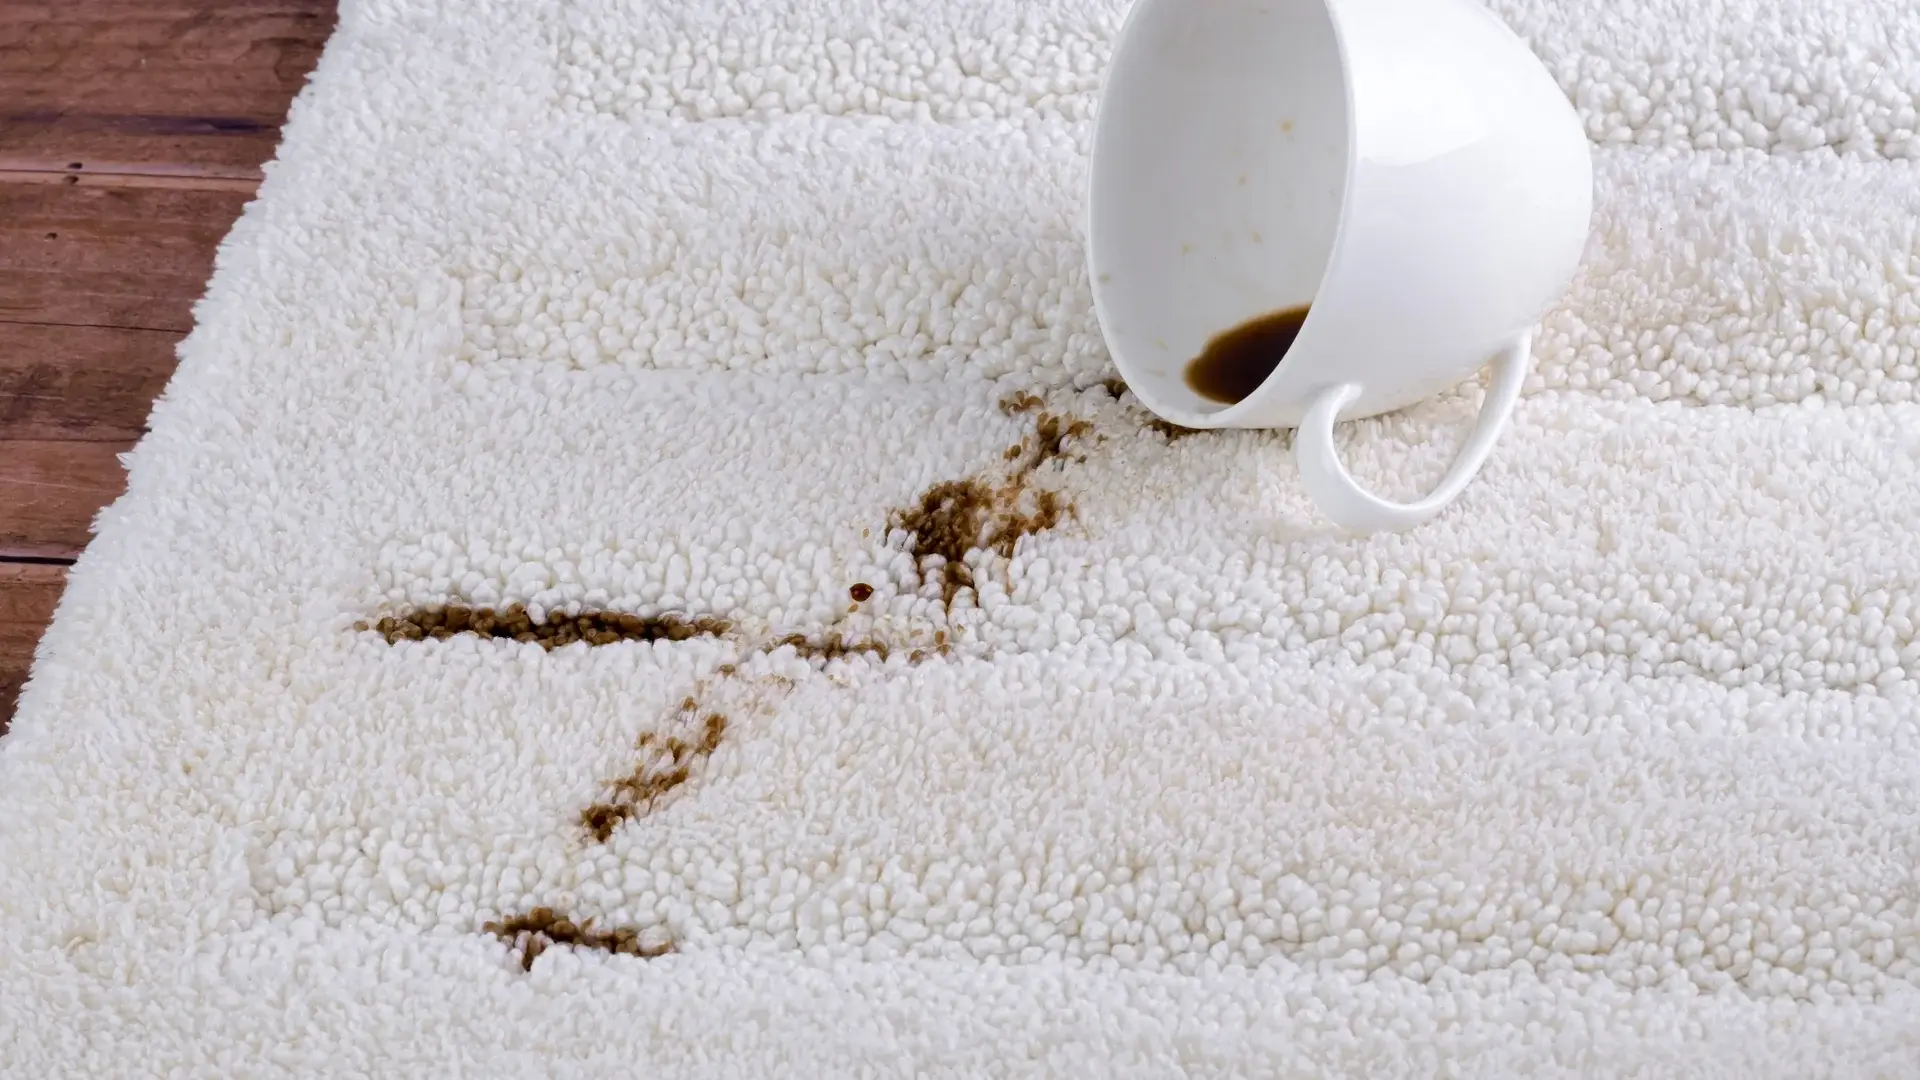
- Carpets vacuumed with crevice tool along edges
- Carpet stains spot-treated
- Hard floors swept and mopped
- Tile grout scrubbed if stained
Exterior areas (when included):
- Garage swept
- Patio or back porch swept and cleared
Professional cleaners working on move-out jobs follow the same inspection criteria that property managers use. They know where inspectors look first: the inside of the oven, the area behind the refrigerator, grout lines in the bathroom, and the tops of ceiling fan blades.
What a move-out cleaning service does not include
Understanding the limits of a standard service helps you avoid last-minute surprises.
Most move-out cleaning services do not cover:
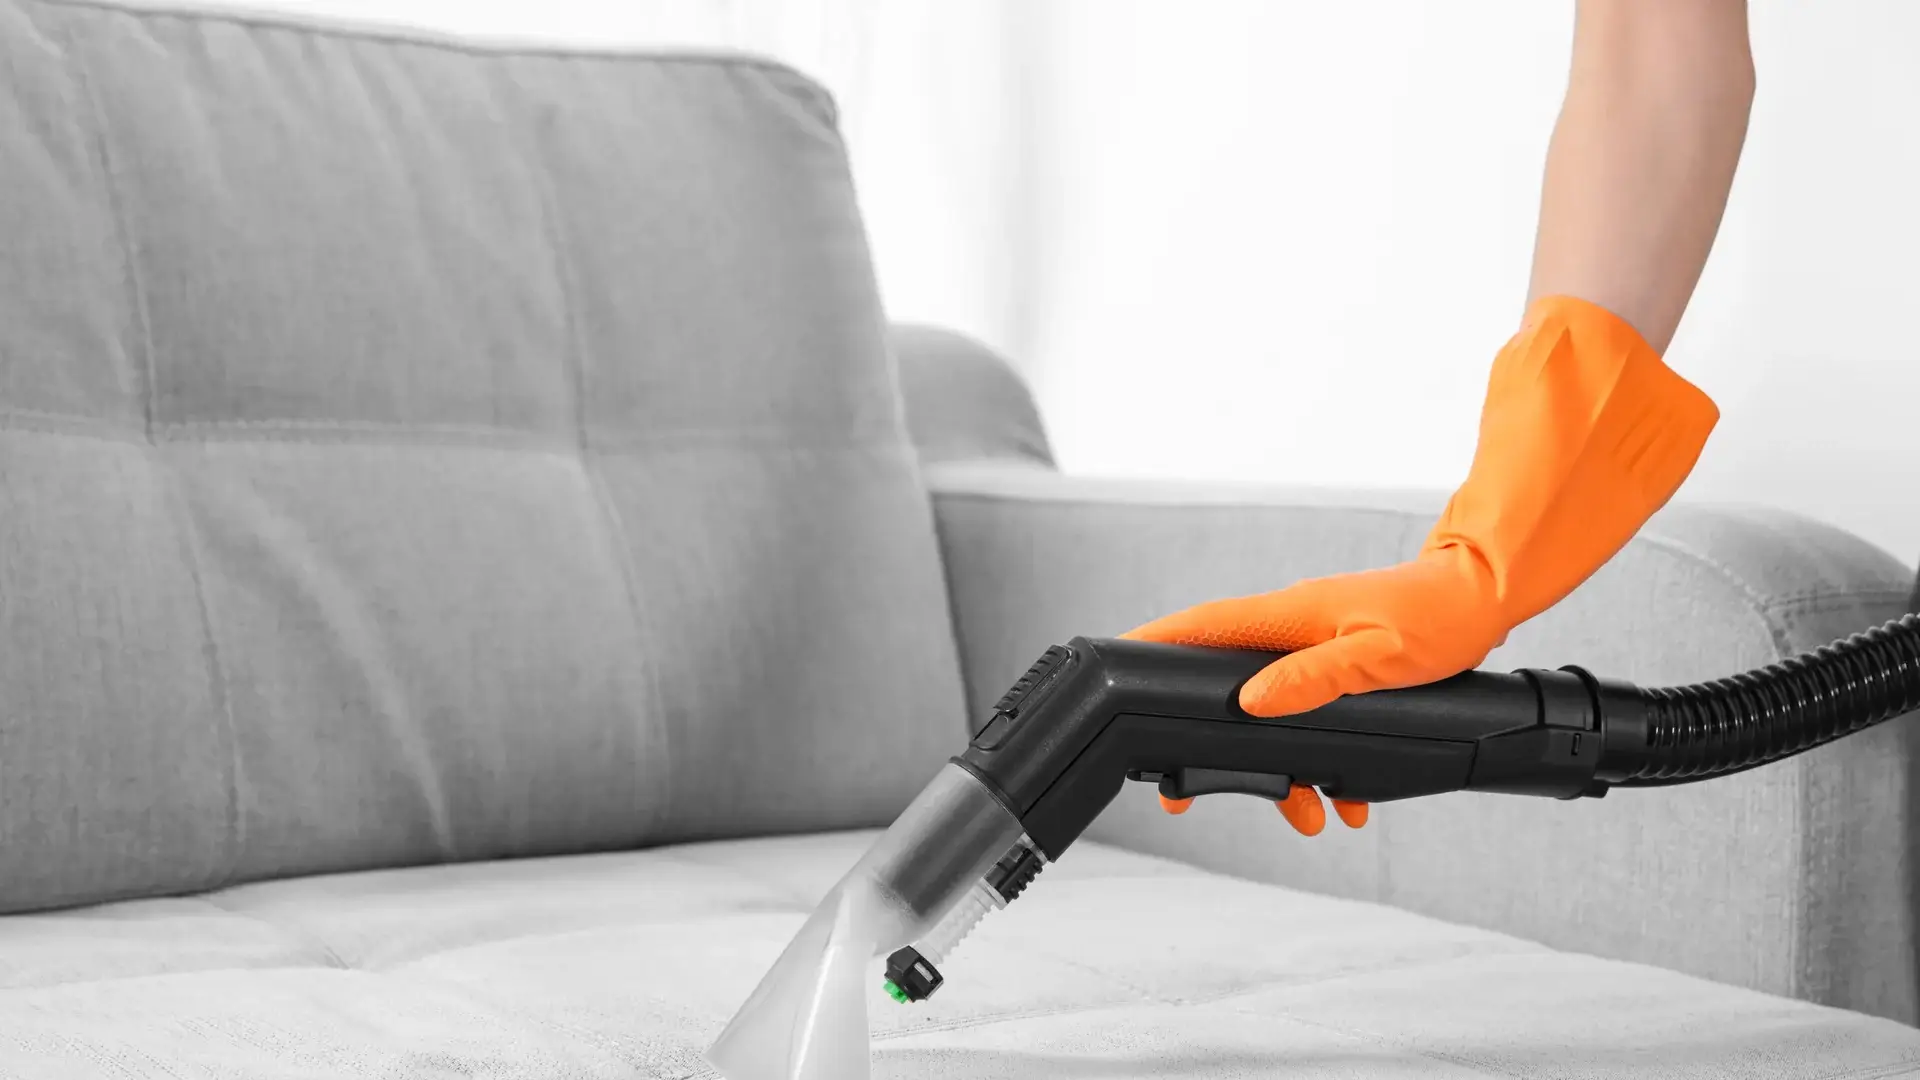
- Carpet steam cleaning: Usually quoted separately. Many Texas leases require a professional steam cleaning receipt, so confirm with your landlord before booking.
- Exterior window cleaning: Standard scope covers inside surfaces only.
- Mold or biohazard remediation: These require certified specialist treatment and fall outside standard cleaning.
- Damage repair: Holes in walls, broken fixtures, and damaged surfaces are not part of any cleaning service.
- Junk removal: Items left behind require a separate removal service.
- Outdoor power washing: Driveways, exterior walls, and fences are typically not included.
If your lease specifically requires any of these, address them as separate line items when you book. A reputable company will tell you upfront what is and is not included before you confirm.
How much does a move-out cleaning service cost in Texas?
Pricing varies by property size, condition, and which add-ons are included. As a general reference for the DFW area:
- Studio or one-bedroom apartment: $100 to $175
- Two-bedroom apartment: $150 to $250
- Three-bedroom home: $200 to $350
- Larger homes (4+ bedrooms): $300 and up, depending on condition
Properties in poor condition, with heavy grease buildup or significant neglect, typically cost more because they require additional time and product. Some companies charge hourly; others offer flat rates by property size. Ask for both options when requesting a quote.
For context: in Texas, landlords can deduct cleaning costs from your security deposit without a fixed cap, as long as deductions are itemized and reasonable. A professional clean at $200 is almost always less than what a landlord charges when they hire their own cleaning crew after a failed inspection.
What to look for when hiring a move-out cleaning service
Not every company delivers the same result. These are the factors worth checking before you book:
Satisfaction guarantee. A reliable service will return to address any items flagged during the inspection, at no additional charge. This is one of the most important things to confirm before hiring.
Experience with move-out jobs specifically. Move-out cleaning is different from recurring maintenance cleaning. Companies that specialize in it understand lease standards and inspection criteria.
Licensed and insured. Verify that the company carries liability insurance. This protects you if anything is damaged during the cleaning.
Clear scope of work. Ask for a written list of what is included before you confirm. Vague quotes lead to disputes after the job.
Reviews from tenants, not just homeowners. Look for reviews that specifically mention deposit recovery or landlord inspections. That context matters.
According to the EPA’s guidance on indoor air quality, carpets and soft furnishings accumulate dust, allergens, and particulates over time. This is one reason many Texas leases require professional carpet cleaning at move-out: a standard vacuum is not sufficient to meet the standard expected for deposit return.
When to hire a professional vs. clean it yourself
DIY move-out cleaning is a realistic option in the right circumstances. Hiring a service makes more sense in others.
DIY is a reasonable choice when:
- The property is small and in good condition
- You have two to three full days available before the final walk-through
- You are comfortable with deep cleaning tasks like oven scrubbing and grout work
A professional move-out cleaning service is the better option when:
- The property is large or has multiple bathrooms
- The kitchen or bathrooms have significant buildup
- Your timeline is tight and you cannot dedicate multiple days to cleaning
- Your lease requires documented professional cleaning
The other factor is documentation. When a licensed company completes the job, you receive a receipt that serves as evidence in any deposit dispute. That paper trail has real value if your landlord later claims the property was not cleaned properly.
If the property needs significant work before a move-out clean, starting with a deep cleaning service can bring it to a baseline that makes the move-out clean faster and more effective.
Frequently asked questions
Do I need to be present during the move-out cleaning service? No. Most companies only need access to the property. You can arrange key handover or a lockbox and do your walk-through after the team finishes.
How far in advance should I book a move-out cleaning service? Book at least five to seven days before your move-out date. Availability tightens at the end of the month when most leases turn over. For end-of-month moves, booking two weeks ahead is safer.
What if the landlord is not satisfied after the cleaning? Contact the cleaning company immediately. Any reputable service with a satisfaction guarantee will return to address specific items flagged during the inspection. Document the landlord’s concerns in writing before the return visit.
Does the cleaning service need the property to be empty? Most companies prefer an empty property. It allows access to floors, baseboards, and areas behind appliances that furniture would otherwise block. Some will work around remaining items, but the result is less thorough.
Can a move-out cleaning service help me get my full deposit back? It significantly improves your chances. Cleaning is the most common reason for deposit deductions in Texas. A professional clean that passes inspection removes that category of deduction entirely. It does not cover damage, unpaid rent, or other lease violations.
Is move-out cleaning the same as deep cleaning? They overlap significantly in depth and technique, but the focus differs. Deep cleaning can be done at any point during a tenancy. Move-out cleaning is specifically structured around returning a property to its original condition for a landlord inspection, and it always includes appliance interiors and cabinet interiors as standard.
Ready to book a move-out cleaning service?
A professional move-out cleaning service is one of the lowest-risk investments you can make at the end of a lease. The cost is predictable, the result is documented, and you leave the property knowing the job was done to inspection standard.
If you need move-in/out cleaning in McKinney, Plano, Frisco, or the surrounding DFW area, E&R Cleaning Services offers a full-scope service with a satisfaction guarantee. If the inspection does not pass, we come back.